You've got 20 riders, 20 different names, 20 different jersey numbers, and one supplier email thread that's already spiraling into chaos. Someone's name is spelled wrong in the spreadsheet, another rider just joined last week, and you still don't know if your supplier can even do personalized cycling jerseys at scale without mixing up who gets number 7 versus number 17.
Ordering custom cycling apparel for an entire team doesn't have to feel like herding cats. There's a clear, repeatable process for collecting rider info, locking in a design template, and catching mistakes before they hit sublimation printing (and your budget). We're breaking down the exact five-step system—collection sheet template included—so your next team order actually feels manageable, maybe even easy.
Step 1: Build Your Rider Information Collection Sheet (Template Included)
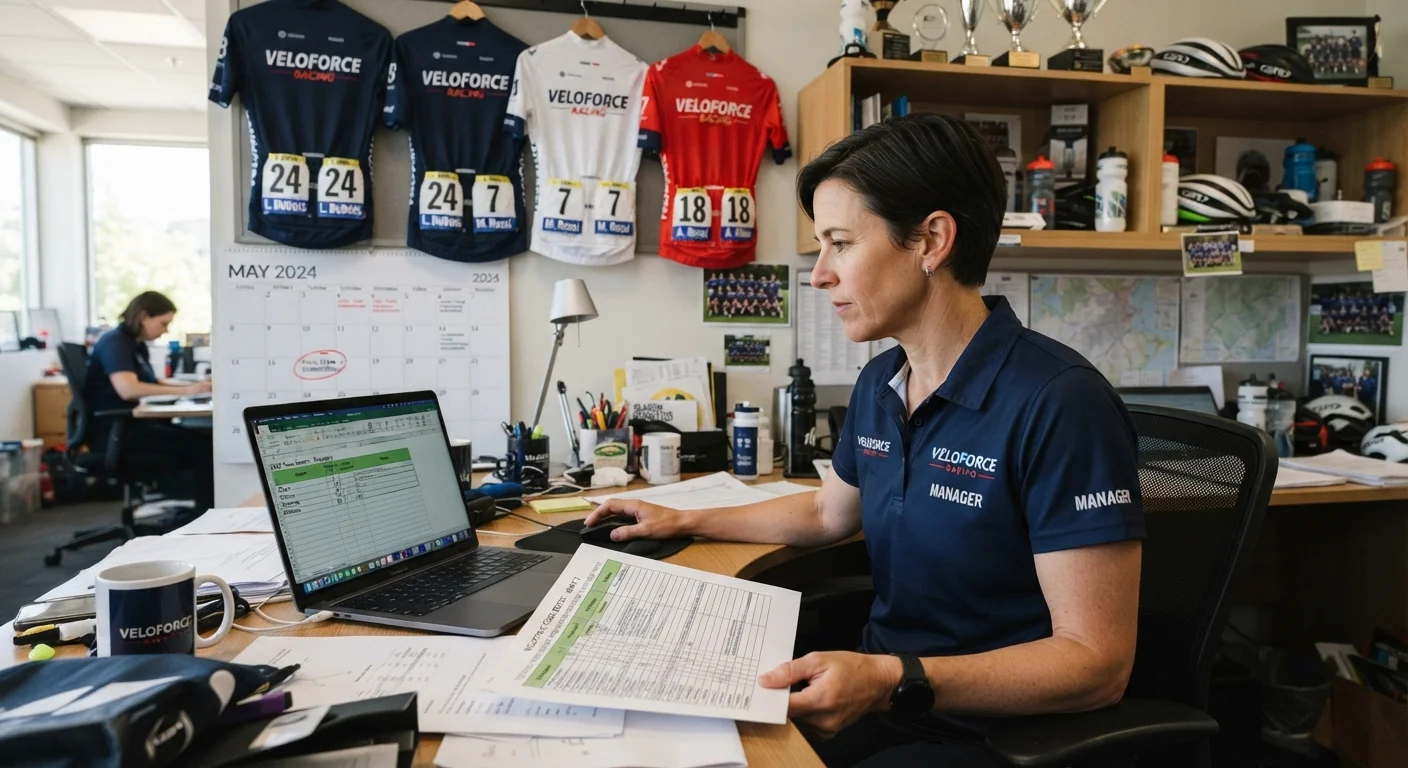
A good collection sheet is the quiet hero of any successful cycling team uniform design order. It's the single document that prevents a jersey printed with "Jon" instead of "John" or number 12 going to two different riders. Before you touch any custom bike jersey design tool or send a single email to your supplier, get this sheet locked down first.
The template below is organized into sections you can copy straight into a spreadsheet:
Section 1: Rider Identity
- Full legal name (exactly as it should appear on the jersey, no nicknames unless requested)
- Preferred name for printing, if different
- Jersey number (double-check this isn't duplicated elsewhere on the roster)
Section 2: Sizing Information
- Height and weight, cross-referenced against your supplier's cycling jersey size chart cycling guide
- Preferred fit: race cut, club fit, or relaxed
Section 3: Personalization Details
- Name placement preference (back only, or back and sleeve)
- Font style, if your custom fishing jersey supplier offers options for personalized cycling kit orders
- Any special requests (sponsor logos, captain markings, retired numbers)
Section 4: Contact & Confirmation
- Phone number and email for individual proofing
- Order confirmation checkbox: "I've reviewed my name and number and confirm they're correct"
- Date submitted
When each rider personally signs off on their own line, you shift accountability away from you as the organizer and onto the individual. This cuts down on the "wait, that's not how I spell my name" emails after printing.
Keep this sheet in one shared document (Google Sheets works well) so updates stay visible to everyone managing the order, especially if you're coordinating cycling club uniform ordering across multiple team captains.
Step 2: Choose a Supplier That Handles "Different Names & Numbers Per Jersey"
Not every custom cycling jersey supplier can produce 20 jerseys with 20 different names and numbers in a single production run. Some can only print one design across the whole batch, then charge extra per name change, or worse, they simply can't do it at all. Before you get attached to a supplier, ask directly whether each jersey can have a unique name and number in the same production run.
The answer comes down to how they print. Full sublimation printing, where the design is dyed into the fabric, is the standard for personalized cycling kit. One supplier we looked at, Eliian, includes a different player name and number on every piece at no extra cost, with an MOQ of just 10 pieces per design. They'll even mix youth and adult sizes in that same order. 8xsports goes even lower, with a 7-piece minimum and the same no-extra-charge policy on names, numbers, and logos.
If your team is bigger, Mavyq and GenXport fit mid-size orders (50 and 15-50 sets per design, respectively), and both ask for a roster spreadsheet with Name, Number, and Size to lay out each jersey individually.
Vinyl-applied names are another common method, more typical of retail uniform shops. But they usually work only on garments the supplier provides, so double-check before committing.
Before sending an RFQ, confirm whether the MOQ applies per design or per size run, and what file format they need for your player list.
Step 3: Create the Base Design (One Template — All Riders Share It)
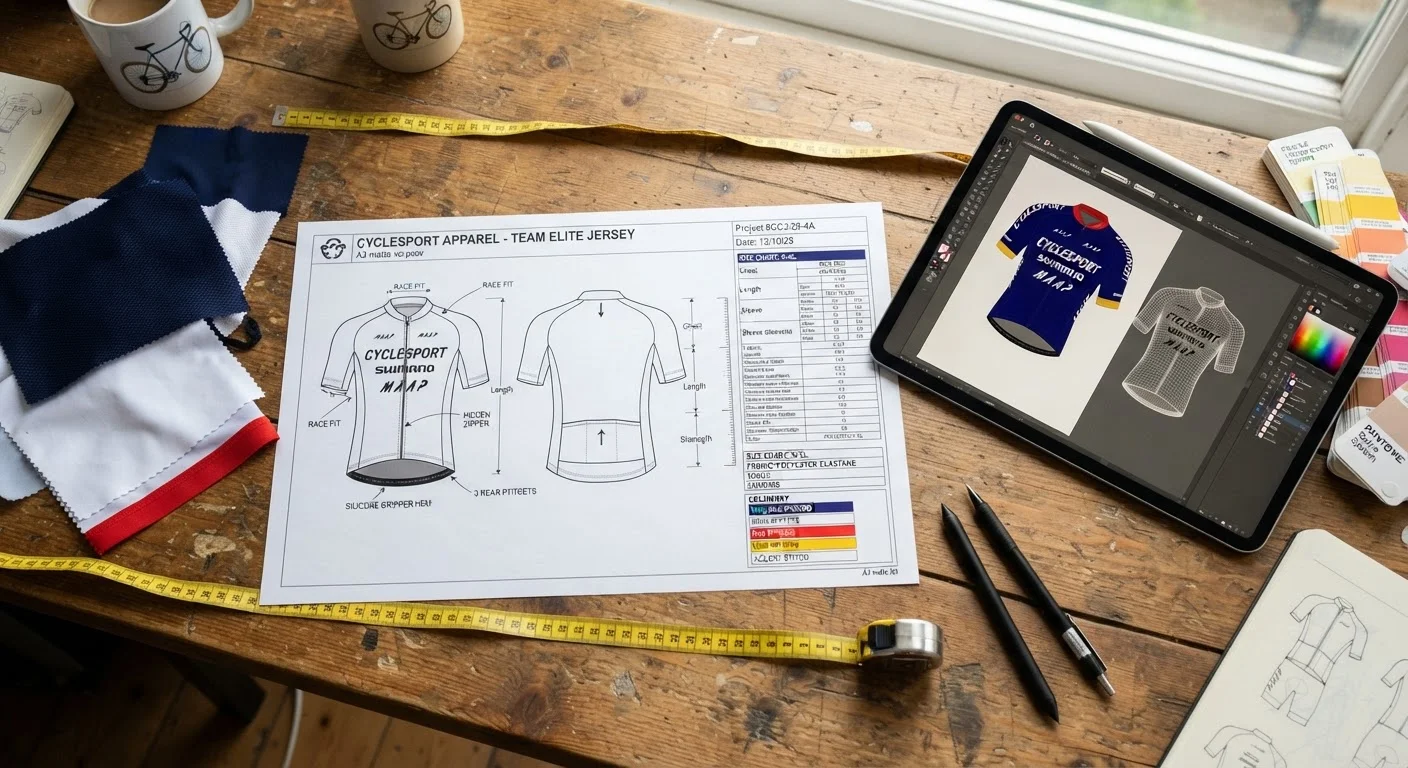
You need exactly one design file. The whole team shares a single base template, and that template is what your supplier grades up or down to fit each rider's size. Most custom cycling apparel suppliers , including Monton Sports, Primalwear, Pactimo Custom, owayo, and Cyclingbox, build their process this way, offering downloadable templates or blank base designs for teams who need one shared body template across every rider.
How the base template works:
Suppliers use a middle-size pattern as the master. Size M is the common base for women's fits, L for men's. This one file becomes the master copy that every other size is graded from, so a small women's jersey and an XL men's jersey both trace back to the same source design.
A proper template includes front and back technical flats (a flat drawing of the jersey), a POM measurement chart listing full length, chest width, shoulder width, sleeve length, sleeve opening, neck opening, tolerances (how much each measurement can vary, usually ±0.25 to ±0.5 inches), and construction notes, colorways, and artwork placement guides.
Why this matters for your name-and-number order:
Once the base template is locked, your supplier applies grading rules to scale it across your entire size range, so chest width might grow one inch per size from S to XL, with smaller shoulder and sleeve adjustments layered in. This is what lets your supplier print rider #7's name at the correct scale on a small jersey and rider #14's name at the correct scale on an XXL, using the exact same artwork file.
If you're working with a supplier that offers direct template support, ask for it early. Pactimo Custom, for example, has a dedicated line ([email protected], 800.801.9869) just for template and art file questions. Use it before you finalize anything.
Step 4: Submit Your Rider Info & Confirm Each Mockup
Once you approve a mockup, it's final. Whatever's on the proof is what gets printed: typos, wrong numbers, misspelled names and all. Most sublimation printing cycling apparel suppliers won't offer a free reprint for mistakes that were sitting right there on the approved file. That cost falls on the buyer.
Before you type "approved" in that email, check every single one of these:
Rider name spelled exactly as submitted
Number, size, and placement match the roster sheet
Artwork or logo version is the latest one
Colors match what was requested
Spelling throughout (jersey text, sponsor names, everything)
File version and date stamp on the proof
Written approval from each rider or team rep, not just a verbal "looks good"
Mockup matches the PO or invoice line by line
A lot of custom cycling apparel suppliers build a safety net into their approval language. You'll often see something like, "If it's not listed on the mockup, assume it was overlooked and request a revision." Take that as your cue to speak up now, before printing starts. If a detail's missing, name it in writing before you sign off.
Set up a proof workflow, even if it feels like extra steps. Review each proof against the PO or spec sheet. Mark corrections directly with PDF comments or red-pen notes so nothing gets lost in a text thread. If your supplier's proofing tool allows it, reject only the specific issue and leave a short comment on what needs fixing, rather than scrapping the whole mockup.
Every proof should carry a version number and date. If anything changes after approval, a fresh proof needs to go out before production begins. No exceptions, no "just fix it quietly."
Some print providers hold themselves to measurable color standards, using something called ΔE 2000, with under 5.0 as the general benchmark and under 3.0 preferred. It's a technical detail, but it's worth asking your supplier if they follow it, especially for team colors that need to match across 20 jerseys.
Most suppliers also give a narrow window, often just 7 days from delivery, to file a defect claim for a no-cost reprint. Ask about that number before you place the order, not after a jersey arrives wrong.
Step 5: Handle Mid-Order Changes (New Rider Joins, Someone Quits, Spelling Fix)
Team rosters shift. Someone breaks a collarbone two weeks before the order goes in, a new rider signs on last minute, and yes, someone will spell their own name wrong on the intake form. This is normal. What matters is timing.
Changes only work before Your custom cycling jersey supplier accepts the order or starts production. Once the order is confirmed and moving toward sublimation printing, most suppliers lock the file. After that, you’re looking at a cancellation and a fresh order.
If someone quits: pull their name and number off the roster sheet before your supplier begins production. If the order's already confirmed, don't expect a mid-run removal. The standard workaround is placing a separate order for that one jersey, or holding it for the next new rider.
If a new rider joins: the same window applies. Add them before the cutoff and they're absorbed into the batch. Miss it, and they'll likely need their own smaller order, which is worth asking your supplier about upfront, especially if their MOQ is 7-10 pieces per design.
Spelling fix? Move fast. Contact your supplier directly (email or live chat, whichever is faster) with the order number, the original entry, and the corrected spelling written out clearly. Don't just say "fix John's name," spell it exactly.
Ask your supplier what their cutoff actually is. Some comparable services set hard windows, like edits allowed only until noon the day before processing. Custom cycling apparel suppliers vary, but the pattern holds: earlier is always safer, and a five-minute email today beats a reprint invoice next month.
Internal Milestone: Document the Entire Process for Next Season
This season's headache is next season's shortcut, but only if someone writes it down while the details are still fresh. Grab your rider info sheet, the mockup approval emails, and your supplier's cutoff dates, then turn them into a simple SOP: process name, owner, version date, step-by-step instructions, a verification checklist, and a troubleshooting section for the stuff that always goes sideways.
Sketch the process as a flowchart with clear start and end points, plus who's responsible at each handoff. Before you file it away, hand the draft to a teammate who wasn't involved and watch them try to follow it. Gaps show up fast that way.
Store the final version somewhere shared, like a team wiki or Google Drive folder with version control, so cycling club uniform ordering never starts from zero again.
Conclusion
Ordering a personalized cycling kit for twenty different riders sounds intimidating until you break it down. You’ve done that. A solid rider info sheet, a cycling apparel supplier built for name-and-number customization (not every one is), one shared mockup review, and a plan for the inevitable “wait, can we add my cousin?” text — that’s the whole game.
Get those four things right, and you’ll cut your back-and-forth emails in half and practically eliminate the dreaded “his name is spelled wrong” reprint. That means less chaos, fewer surprises, and more time to get excited about race day.
Before you fire off that group order, save your template, screenshot this guide, and share it with your co-organizer.