Sourcing custom sublimated cycling apparel sounds simple. Then reality hits — you're three emails deep with a factory that can't match your Pantone colors, ships late, and has no idea what "moisture-wicking four-way stretch" means.
For brands focused on bulk production, a forgettable kit and a head-turning one are separated by decisions made early. Fabric weight, ink saturation, pattern grading, seam construction — these details define the final product before a single stitch is sewn.
This guide walks you through the entire process:
Locking in your OEM partnership
Validating samples the right way
Scaling into bulk orders with confidence
Building a cycling brand or outfitting a precision-driven team? What comes next will save you time, money, and a lot of frustrating back-and-forth.
Brand Design Integration: From Logo Files To Full-Kit Sublimation Layout
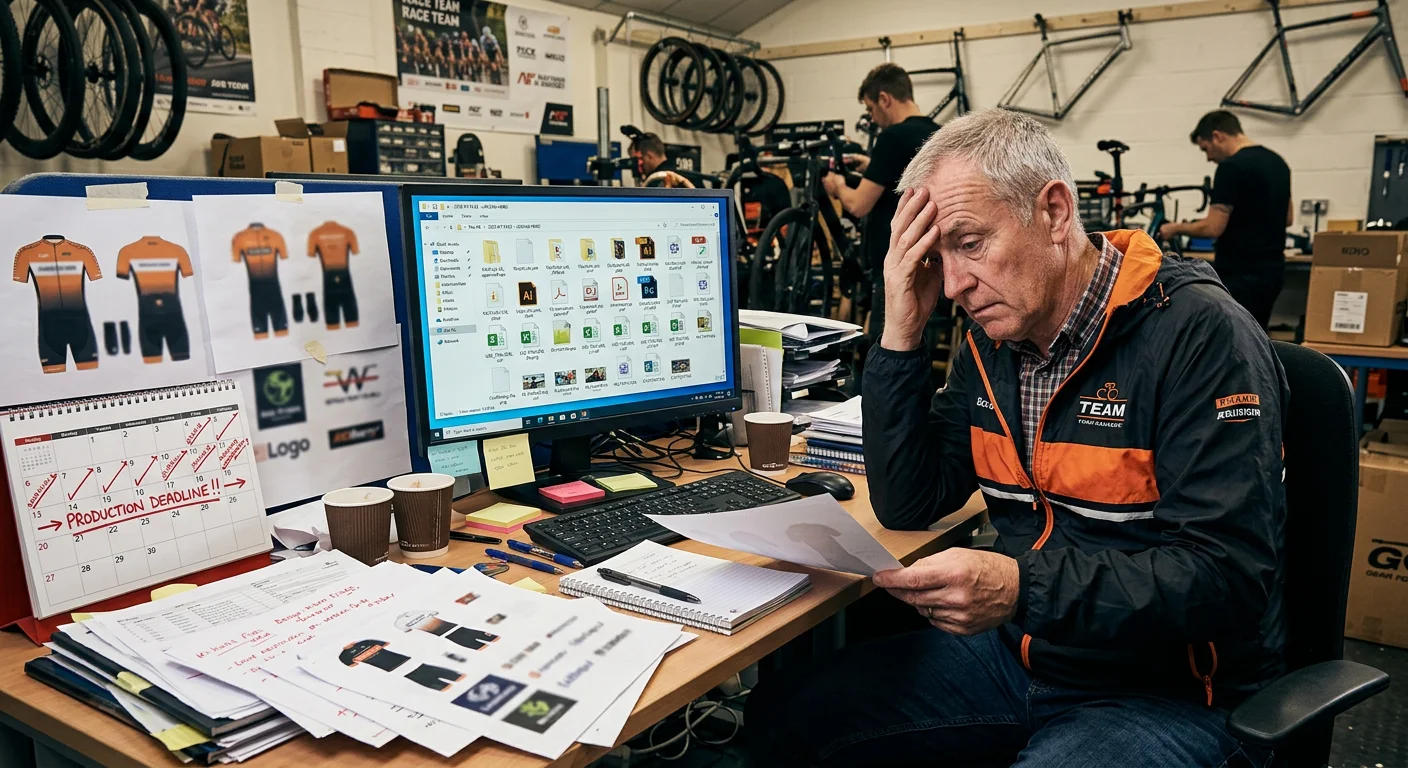
Most design handoffs fail before production even starts. The factory gets a low-res PNG, a vague color reference, and a note that says "make it look good." The result? A kit that looks nothing like the brand.
To get sublimation right, treat design integration as a technical handoff — not a creative conversation.
What Your Factory Needs From You
Before a single panel gets laid out, your cycling apparel factory needs a complete design package. Not a mood board. A production-ready file set.
Vector logo files are non-negotiable. Submit at least one of the following:
- AI (Adobe Illustrator CC 2019 or newer)
- EPS (saved as version 8.0/10.0 for factory software compatibility)
- High-resolution PDF with embedded fonts, bleed marks, and spot color definitions
Color specifications must be exact. For every brand color, provide:
- Pantone number (e.g., Pantone 321 C)
- Matching CMYK, RGB, HEX, and Lab values for digital sublimation conversion
No Lab values means color matching across production runs is pure guesswork.
Also define logo safe zones . The industry standard is a minimum 0.25–0.5× logo height of clear space on all sides. For chest placement, logo print height should be ≥25mm. Sleeve logos, ≥12mm.
Understanding the Full-Kit Panel Layout
A complete cycling kit — jersey plus bib shorts — has eight distinct print zones. Each zone has its own constraints.
Panel | Key Consideration |
|---|---|
Front Panel | 35–45% of visible area; zipper line must stay centered or balanced |
Back Panel | 40–50% visual zone; pocket area (90–110mm per pocket) must stay clear of key graphics |
Sleeves | Reserve 25–35mm at cuff edge for gripper seam — no logos in this zone |
Bib Straps | 40–60mm wide; keep graphics simple, single-color preferred |
Template vs. Full-Custom: Choose Your Path
Two design service routes are available. The right choice depends on your timeline and brand complexity.
Path A — Template-Based Customization:
This is the fastest route to production. Color blocks and logo positions are fixed. You swap in your Pantone colors and vector files. Design confirmation to production-ready file takes 3–5 business days . MOQ starts as low as 5–10 pieces per style — a solid fit for small teams or new brand launches.
Path B — Full-Custom Concept Design:
Every color cut line, graphic element, and pattern is built from your brand's visual identity system. The factory design team delivers 2–3 initial concepts with full Pantone/CMYK specs. Timeline runs 2–4 weeks from brief to final file. MOQ sits at 20–50 pieces per style to cover design and sampling costs.
Locking In Colors Before Bulk Production
Digital proofs tell part of the story — but not all of it. Sublimation ink on fabric looks different from what you see on screen. Colors can shift, so physical confirmation is essential.
The standard confirmation process runs three stages:
Digital proof review — a flat JPG/PDF showing all panel layouts with Pantone and CMYK annotations
Physical sublimation sample — printed on actual production fabric; Lab values are measured against your target (ΔE ≤2–3 is the accepted tolerance)
Revision rounds — the template path gets 1–2 rounds; full-custom gets 3–4 before extra fees kick in
Submit your complete brand asset package upfront. This cuts revision cycles, protects color accuracy, and keeps your custom team cycling uniforms on schedule.
Sampling Before Bulk: How To Validate Fit, Color, And Fabric Before Committing
Skipping proper sampling is one of the most expensive mistakes a cycling brand can make. A 5,000-piece bulk order where 30% comes back due to sizing issues? That's a potential loss of 20–40% of your total order value — wiped out before you've sold a single kit.
The sampling stage isn't a formality. It's your last line of defense before mass production locks everything in.
The Three Sample Types You Need to Know
Not all samples serve the same purpose. Confuse them, and you'll waste time, money, and momentum.
Size Set Samples exist to validate one thing: that your grading rules work across every size. For a cycling jersey running XS–XL, produce and measure every size — front/back length, chest circumference, shoulder width, sleeve length. Check each measurement against your spec sheet tolerance of ±0.5–1.0 cm . Beyond the numbers, put every size on a real person. Run dynamic tests: arms up, leaning forward on the drops, sprinting. Your M and L are 2 cm too narrow in the chest? That's a grading defect. Catch it here — not after bulk production ships.
Pre-Production Samples (PP Samples) are a different animal. Think of them as your golden sample — the contractual benchmark for everything that follows. Size set samples just check fit. PP samples must use the exact same batch fabric, same yarn lot, same zipper spec, and same sublimation process as bulk production. Confirm color under a D65 standard lightbox , not office fluorescent lighting. Keep the tolerance at ΔE ≤1–1.5 . Once you sign off the PP sample, the factory freezes the spec sheet, locks the fabric and trims order, and starts production scheduling. No changes after this point without a formal amendment.
What To Check — A Pre-Bulk Validation Checklist
Fit validation:
- Measure every critical point against the spec sheet — no eyeballing
- Confirm grading intervals are consistent (e.g., waist increases 2.5 cm per size)
- Run a dynamic wear test across all sizes: bending, reaching, pedaling simulation
Color and print validation:
- Compare the PP sample against your Pantone reference under D65 lighting
- Measure sublimation print placement with exact distances (e.g., chest logo center 8 cm from front neckline , lateral deviation ≤0.5 cm )
- Check for ink bleeding, soft edges, or color registration errors
Fabric validation:
- Ask straight out: "Is this sample cut from the same production method and yarn batch as bulk?" An uncertain answer is a red flag
- Never accept samples cut within 50mm of the fabric edge — edge properties don't represent the full roll
- Run at least one wash cycle before approval. Measure shrinkage and keep it within ≤3–5% in both warp and weft
Timelines and Costs — Plan These In Advance
Here's a realistic sampling timeline for custom sublimated cycling apparel :
Sample Stage | Typical Timeline | Cost Range |
|---|---|---|
Proto Sample | 5–10 business days | $50–$150/style |
Fit Sample | 3–7 days after proto approval | Included or similar |
Size Set | 7–14 business days | $20–$40/size ($100–$200 for 5 sizes) |
PP Sample | 5–10 days after materials confirmed | ~10–30% above bulk unit price |
Good news: most OEM cycling apparel manufacturers will credit sampling costs against your bulk invoice. Your order needs to hit a minimum threshold — 300–500 pieces per style or a total order value of $3,000–$5,000. Get this in writing before you start.
Build your contract to include milestone deadlines for each sample stage and explicit delay penalties. Also add a clause giving you the right to reject bulk if it deviates from the approved PP sample. That last clause alone can save you from a warehouse full of kits you can't sell.
Cutting, Sewing & Assembly: What Happens On The Factory Floor
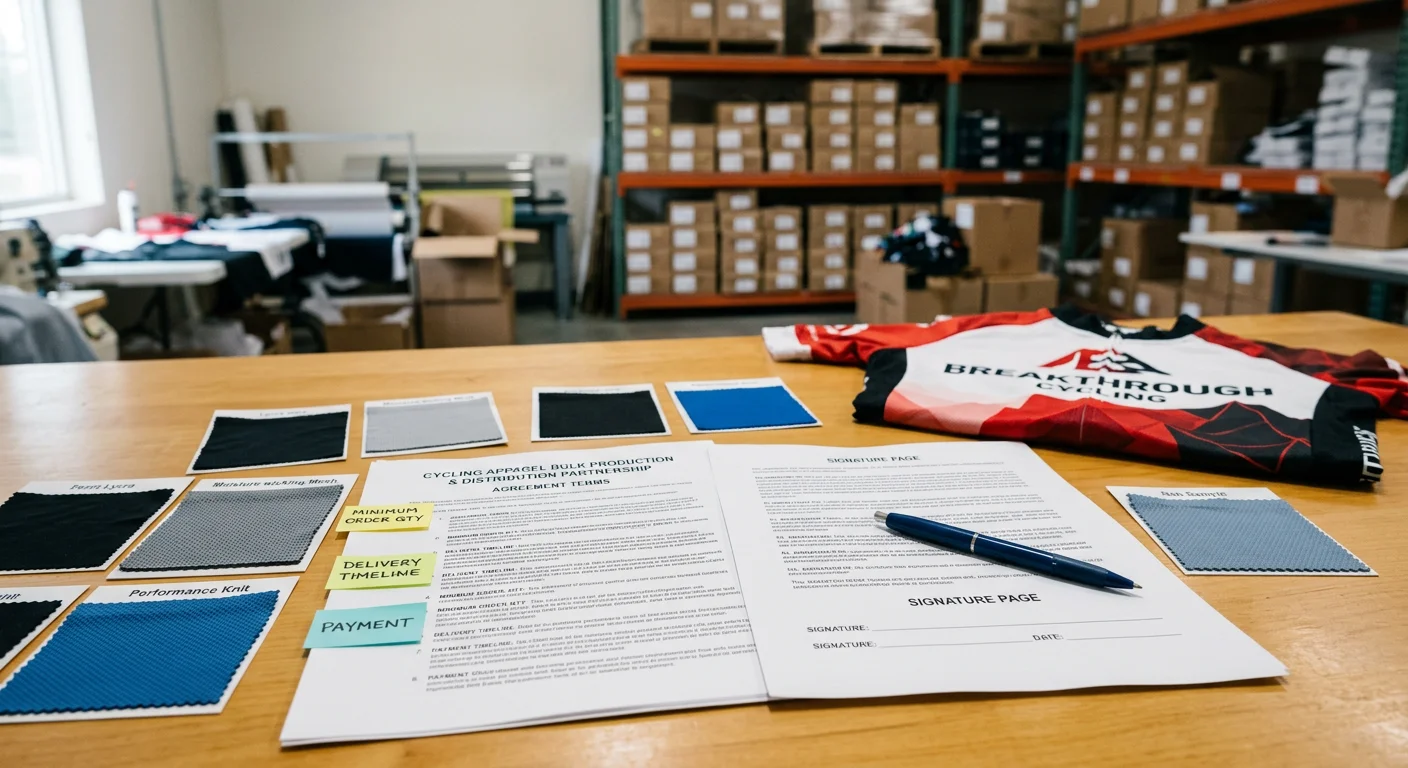
Most production problems don't start on the sewing line. They start in the gap between an approved PP sample and a finished bulk order — and most brands never see that gap.
Here's what happens once your files hit the factory floor.
Cutting: Precision Starts Before the First Stitch
Fabric doesn't go straight from the roll to the sewing line. It gets laid flat, stacked, and cut. How that's done affects your per-unit cost and dimensional consistency.
Professional factories use automated marker software — Gerber, Lectra — to arrange panels before cutting. The result: fabric utilization rates of 85–92% , compared to 75–85% for manual layouts. That 5–10 percentage point difference adds up fast across a 500-piece bulk run.
Lycra-blend performance fabrics — standard in custom polyester cycling jersey production — need to relax for at least 24 hours before spreading begins. Skip this step. Your cut panels will shrink after spreading, and every size goes off-spec.
Automated cutting beds run at 10–20 meters of cut line per minute . They slice through 60–80 plies in one pass at ±0.5–1.0 mm precision . Manual straight-knife cutting? You're looking at error tolerances of ±2–3 mm. That's a real difference across six sizes.
Every cut bundle gets tagged right away: size + colorway + style number . One mislabeled bundle in a 1,000-piece run creates chaos at every sewing station down the line.
Sewing: A 40-Minute Journey Across 20+ Stations
A full cycling bib shorts sublimation kit doesn't get sewn at one machine. It moves through a progressive bundle system — 20 to 35 individual stations. Each operator handles one or two specific operations.
Total standard time for a complete cycling kit with bib straps, main zipper, silicone hem gripper, and multiple pockets: 40–45 minutes per piece . That yields 1.3–1.5 pieces per operator per hour .
The sequence matters:
Darts and seam shaping
Pocket assembly — 2 patch + 2 zip pockets = 6–8 min on its own
Main front zipper — 2–3 min
Shoulder and side seams
Bib strap assembly — 4–6 min, including buckles, adjusters, and bartack reinforcement
Sleeve attachment
Silicone hem gripper tape
Final hem closures
High-stress points — shoulder seams, strap attachment ends, pocket corners — get bartack or box-stitch reinforcement . Position and stitch count come from the tech pack. Roving QC inspectors check stitch type, SPI (2.5–3.5 mm pitch), thread tension, and back-tack security across the full line.
Brand Finishing: The Details That Justify a Premium Price
The final assembly stations are where custom logo cycling kit production splits commodity product from real branded merchandise.
Heat-transfer labels replace woven care labels at the back neck. They go on at 130–160°C, 3–4 bar pressure, for 8–15 seconds . You get a cleaner, softer finish — exactly what premium cycling consumers expect.
Reflective elements — heat-bonded logos, piping, or tape strips — go on mid-line before the final seam closes. They sit at ±3–5 mm tolerance against fixed reference points. Material cost per piece runs $0.10–$0.30 , plus $0.02–$0.05 in labor. Small cost. Strong brand visibility on the road.
Private label hangtags go on last — after final inspection, before poly-bagging. Size, composition, barcode, and QR code all get checked against the packing list. It takes 0.2–0.4 minutes per piece . That hangtag is the last thing your end customer sees before they cut it off and put the kit on.
This is bulk cycling apparel production done right — not a black box, but a traceable, controllable process. Know the sequence, and you know where to hold your manufacturer accountable.
Bulk Production Parameters: MOQ, Lead Time, And Order Structure For Brands
One number kills most brand partnerships before they even start: the factory's minimum order quantity.
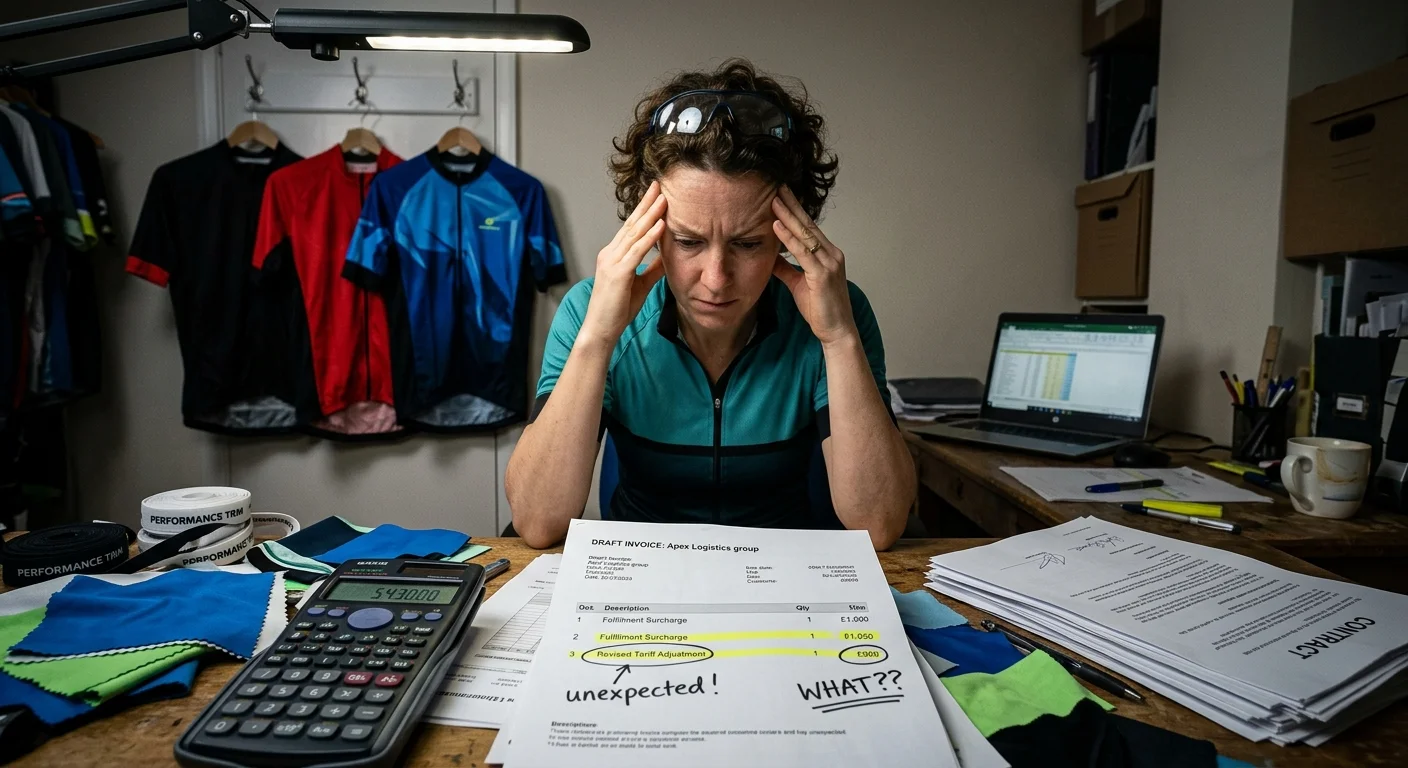
Get it wrong — order too little, or structure your SKUs badly — and you'll pay 30–50% more per unit. You might lose your production slot. You might get turned away. Get it right, and your bulk cycling apparel production runs on a predictable schedule with unit economics that hold up.
MOQ: What The Numbers Actually Look Like
OEM cycling apparel manufacturers use a three-tier MOQ structure. It's consistent across most factories:
Small-batch / club orders : 10–50 pieces per style. Unit price runs 30–50% above standard bulk. Best suited for team kits and brand pilots.
Standard OEM threshold : 100 pieces per style, minimum 50 pieces per colorway. Total PO needs to hit 300 pieces before a factory will open the production line.
Bulk production tier : 300–1,000 pieces per style for mid-size factories. At this volume, per-unit costs normalize and you gain leverage on pricing.
The smartest move for multi-style launches? Bundle 3–5 styles into one purchase order. Say each style runs 60 pieces. A five-style PO totals 300 pieces — you hit the factory's batch minimum while keeping your per-style commitment manageable.
Factories will also negotiate their stated MOQ down by around 30%. That happens when the production schedule has open slots and the design is straightforward.
Lead Time: A Realistic 6–8 Week Breakdown
A standard custom sublimated cycling apparel order takes 6–8 weeks from confirmed order to delivery. Here's where that time goes:
Production Phase | Timeline |
|---|---|
Design finalization & tech confirmation | 0.5–1.5 weeks |
Sampling & approval | 1–2 weeks |
Material sourcing & production scheduling | 1–2 weeks |
Bulk production | 2–3 weeks |
Air freight delivery | ~1 week |
Two variables blow up timelines more than anything else. Custom materials — specialty zippers, custom-dyed fabrics — add 1–2 weeks to sourcing. Design complexity also adds time. Stack embroidery or reflective elements on top of sublimation, and both sampling and production stretch by another 1–2 weeks.
For race-day or product launch deadlines, a compressed 3–5 week timeline is possible. You need three things: the factory's stock fabrics, an existing pattern template, and air freight shipping.
OEM vs ODM: Which Cooperation Model Fits Your Brand Strategy
Two brands. Same factory. Completely different outcomes.
That's not a coincidence. It's a direct result of choosing the wrong cooperation model at the wrong stage. Talk MOQ or lead times with any OEM cycling apparel manufacturer later. First, answer one question: who owns the design?
The Core Difference Comes Down to IP
With OEM (Original Equipment Manufacturing) , you bring the design. You own 100% of the IP. The factory executes your spec sheet — fabric, structure, function, fit — to the letter. Full customization. Full control.
With ODM (Original Design Manufacturing) , the factory owns the design platform. You pick from their existing templates, drop in your logo, swap colors, adjust packaging. Fast to market. Lower upfront cost. But the design IP stays with the factory — and that same template may already be selling under three other brand names.
The trade-off is real:
OEM | ODM | |
|---|---|---|
Design ownership | 100% brand-owned | Factory retains IP |
Customization depth | Full custom | Logo + color + packaging |
Development timeline | 6–18 months | 2–6 months |
MOQ | ≥500 pcs/SKU | ~300 pcs/SKU |
Unit price premium | 10–30% above ODM | Lower baseline cost |
Exclusivity | Exclusive | Shared template risk |
Match the Model to Your Revenue Stage
This is where most brands get it wrong. They pick a model based on what sounds better — not based on where they are right now.
Early-stage brands (under $50K/year): ODM is the smarter play. You're not building a product empire yet. You're trying to confirm that your brand and product positioning work. ODM gets you to market in 3–6 months. You can spread a 300-piece MOQ across 3–5 SKUs for A/B testing. R&D risk stays near zero. Preserve your cash. Test first.
Growth-stage brands ($50K–$200K/year): This is where the shift starts. Take your top 2–3 performing SKUs and move them to OEM. You now have sales data to back the higher MOQ (500–1,000 pcs) and the extra unit cost. Keep ODM running for secondary lines. That split gives you margin protection on core products without stretching your cash too far.
Established brands (over $200K/year): Your entire core line should be OEM at this point. You have the volume to cover development costs, the data to commit to production runs, and brand equity worth protecting. OEM locks in your design exclusivity — and locks competitors out.
Private Label: The Bridge Between Both Models
Start with OEM or ODM — either way, private label cycling apparel services turn generic product into branded merchandise. A standard private label package for custom team cycling uniforms includes:
Custom hangtags — brand name, sizing, barcode, QR code (50×90mm cards, minimum 1,000–5,000 units; one-time plate fee plus per-unit print cost)
Woven care labels — fiber content, wash symbols, country of origin; available in satin, cotton, or polyester at 10–25mm widths (MOQ: 1,000–10,000 pcs)
Brand size labels — custom Pantone colors and fonts, produced alongside care labels at 1,000+ pcs
Custom poly bags or retail boxes — PE/OPP zipper bags or branded cartons from $0.05–$0.50/pc (MOQ: 1,000–3,000 pcs)
Even on ODM templates, these finishing details are what make your custom logo cycling kit feel like a real brand — not a white-label product someone else is also selling on Amazon.
Lock In a Long-Term Framework Before You Scale
Pick your model, then protect it with a framework agreement. The key terms differ by model.
For OEM , focus on design confidentiality and mold ownership. Your tooling and structural files belong to your brand — not the factory. Switch manufacturers someday, and you take those assets with you.
For ODM , push for regional exclusivity. Get the factory to commit in writing that your specific template won't go to competitors in your primary sales market. Also set firm private label turnaround times. New packaging samples in 7–14 days keeps your operations moving without delays.
Both models benefit from a volume-based price ladder : 0–5,000 pcs at base price, 5,001–20,000 pcs drops 3–8%, and 20,001+ drops 8–15%. For bulk cycling apparel production at scale, that pricing curve protects your gross margin as you grow.
Pick the model that fits where you are — not where you want to be. Then build the contract that protects where you're going.
Quality Control & Compliance: What To Expect Before Shipment
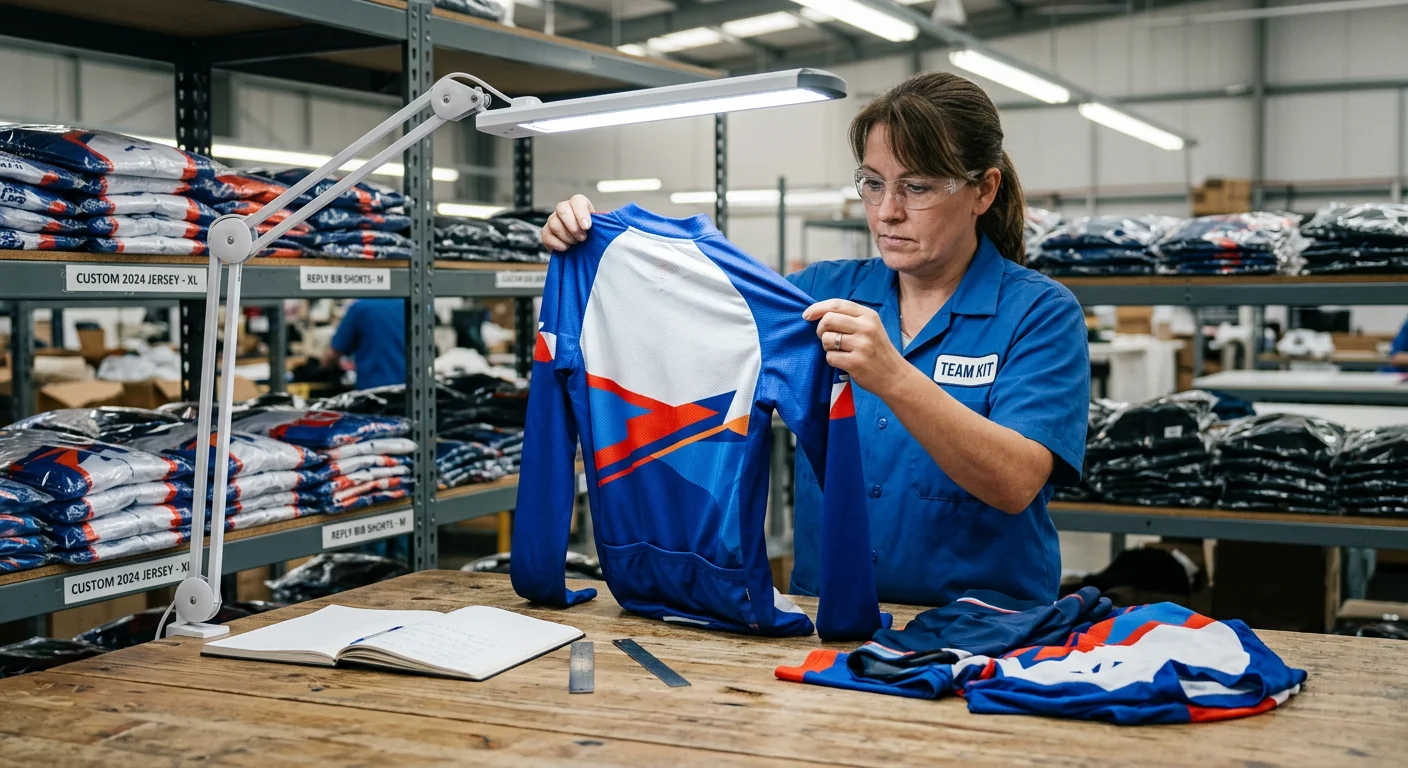
Here's an uncomfortable truth: most bulk order disasters aren't manufacturing failures — they're inspection failures. A factory can produce 500 cycling kits that look perfect in photos. Then they arrive with 12% defective units because no one ran a proper pre-shipment check.
Don't let that be your brand.
The AQL Framework: How Defects Get Measured
Pre-shipment inspection runs on a widely used sampling standard: ISO 2859-1 / ANSI ASQ Z1.4 . The number you need to know is AQL — Acceptable Quality Level.
For custom sublimated cycling apparel , the standard breakdown looks like this:
Critical defects (safety risks, severe mislabeling): AQL 0–1.0
Major defects (visible damage, seam failure, serious color variance): AQL 2.5
Minor defects (loose threads, light surface marks): AQL 4.0
Inspection gets scheduled once ≥80% of production is complete and ≥50% is packaged . That window gives the factory time to repair or replace defective units before the shipment locks.
The Pre-Shipment Checklist That Protects Your Order
Seam integrity: The QC team pulls samples and applies manual tension across the crotch seam, side seam, shoulder, and waistband. More than 5% of sampled units show seam failure ? The entire batch goes back for rework — not just the failing pieces.
Sublimation print alignment: Logo placement tolerance sits at ≤3–5mm from spec. High-end kit orders tighten that to ≤2–3mm . Pattern-matched panels need stripe alignment within ≤5mm at center front and side seams. Any batch where print deviation exceeds spec in more than 2–3% of units gets flagged and pulled.
Color fastness: Wash test results must hit Grade ≥4 on the standard 1–5 scale. Anything below that means color bleeding in the first wash cycle. That's a brand-damaging customer experience you don't want to deal with.
UPF compliance: Your moisture wicking cycling jersey material carries a UPF 50+ claim? The lab report must show a measured value ≥50 , with UVA transmission meeting regional standards. A measured UPF of 25–30 against a 50+ label is a compliance violation. It's not a minor issue — it's a liability.
Anti-pilling durability: Mid-to-premium custom polyester cycling jersey fabric should test at Grade ≥4 after standard abrasion cycles. Grade 3 is the absolute floor. Anything below that puts your bulk production at risk.
When Defects Are Found: What Happens Next
The factory separates defective units and tags each one "REJECT" or "HOLD" on the spot. Then they run a defect-rate breakdown by category — seam failure percentage, color deviation count, mislabeled units — with exact numbers on record.
Reworked units don't slip back into the shipment unnoticed. Each one goes through a secondary 100% re-inspection of the repaired zone before it rejoins the approved lot.
Your purchase agreement needs one non-negotiable clause: the right to reject a bulk shipment if deviation from the approved PP sample exceeds contracted AQL thresholds . That clause is your financial protection. Without it, you're accepting whatever ships — no questions asked.
How To Start Your Bulk Order: Step-By-Step Cooperation Workflow
Every day you delay locking in a production slot, your competitor gets closer to your customers. The fastest brands don't move faster because they're luckier. They move faster because they know the right steps — and the right order to take them.
Here's the full cooperation path, from first contact to bulk shipment.
Step 1 — Submit Your Demand Form. Your factory needs clear, structured information before any quote can go out. That means: quantity per SKU, use case, target unit price, delivery deadline, and shipping terms (EXW, FOB, CIF, or DDP). Skip any fields here and you'll lose 2–5 extra days on quoting. It also pushes order-creation error rates up by 25%.
Step 2 — Receive Your Quote Within 48 Hours. A solid quote covers tiered unit pricing, tooling or artwork fees, packaging surcharges, and a freight estimate. Pricing breaks down like this:
- 100–499 pcs at one rate
- 500–999 pcs at a lower rate
- 1,000+ pcs at the best rate
Price validity runs 14–30 days, so act on it early.
Step 3 — Confirm Contract and Place PO. One to three negotiation rounds is normal for mid-size orders. Once you lock in price, volume, payment, and delivery date — submit your official PO. Standard payment structure: 30–50% deposit upfront, balance before shipment.
Step 4 — Production, QC, and Delivery. Your deposit triggers material booking, artwork confirmation, and production scheduling. All three kick off at once. Total cycle from first inquiry to delivery runs 50–90 days for custom sublimated kits built from scratch.
Ready to start? Submit your bulk request now. You'll get a complete itemized quote back within two business days.
Conclusion
A successful cycling apparel brand starts with more than a great logo. You need a manufacturing partner who can execute your vision at scale. No shortcuts on fabric quality, color accuracy, or delivery timelines.
Every step in this guide has one purpose: cut out the guesswork that stalls brand growth. Here's what professional bulk cycling apparel production covers end to end:
Sublimation-ready polyester fabric selection
Sampling and validation
Factory-floor assembly
Final quality control
That's the full picture — not just the polished version.
Now you have the roadmap. The next move is yours.
Ready to launch or scale your custom team cycling uniforms ? Whether you need 50 kits or 5,000, stop putting this off. Request a sample. Share your design files. Let's build something your riders will be proud to wear.
Your brand deserves more than a generic kit. Let's make it real.