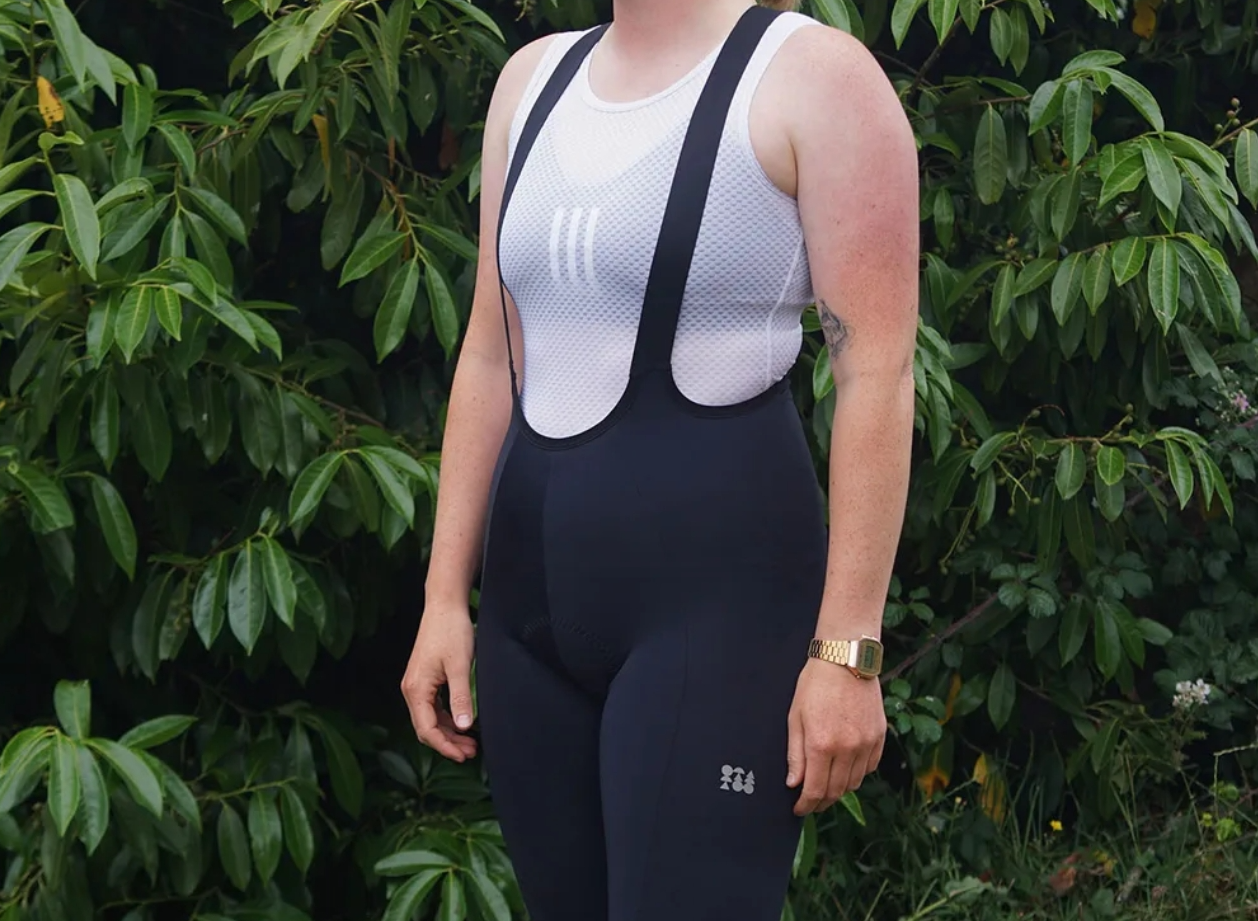
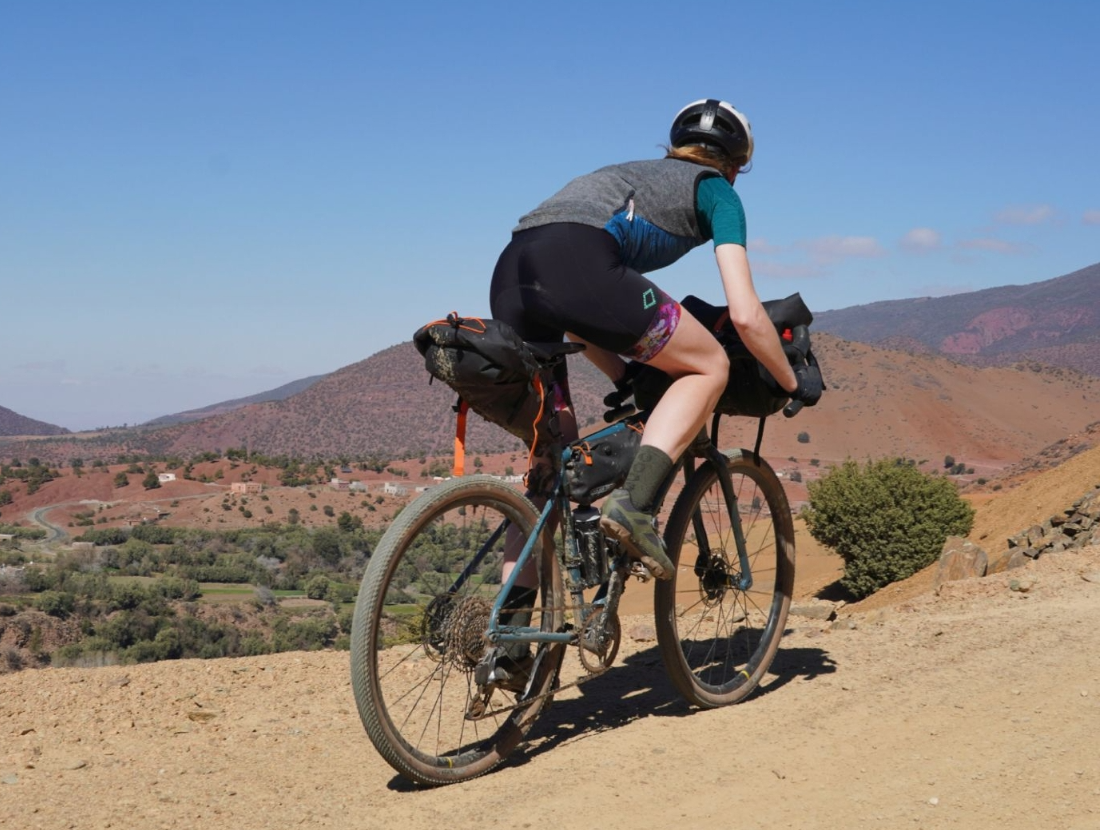
Somewhere around kilometer 60, your saddle stops feeling like a seat and starts feeling like an accusation. That numbness, that hot-spot burn creeping in where you least want it usually comes from a bad chamois pad, and most riders don't realize it until the damage is done.
Choosing the best chamois pad for cycling bib shorts means understanding density zones, thickness thresholds, and anatomical fit well enough to match a pad to your body and your mileage. Get it right, and 100 km feels manageable.Brands can develop custom Cycling Bib Shorts with ride-specific pad designs. Get it wrong, and you're counting down every kilometer in discomfort.
This guide breaks down exactly what separates a pad that survives long-distance rides from one that quietly sabotages them—density logic, thickness ranges by ride duration, and the fit tests that actually predict saddle comfort before you ever hit the road.
Why a 100 km Ride Demands More From Your Chamois Pad
A 100 km ride needs better engineering, not a thicker pad. Over long distances, you need sustained pressure distribution, friction resistance, blood flow protection, and moisture control. A single slab of foam can't handle all four.
After hour two, that tingling, heavy, "gone to sleep" feeling in your perineum is nerve and vessel compression. Your weight lands on soft tissue never built to carry it mile after mile. Left unmanaged, it leads into saddle sore prevention cycling territory: friction causes micro-damage to skin, heat and sweat turn that into maceration, and inflammation follows.
Wider saddles with more deformable surfaces absorb greater total force and spread body weight more evenly, cutting the load that reaches the perineum. The same principle applies to chamois design: high density chamois foam placed correctly does the same job. Distribution matters more than depth.A reliable Cycling Bib Shorts vendor can match pad density to mileage.
Anatomical chamois design and multi-density chamois pad construction are key. Soft, low-rebound foam compresses flat under sustained pressure and stops supporting you exactly when you need it most. Hard edges or poorly placed seams create pressure ridges that concentrate friction on one small patch of skin, often worse than going too thin. For genuine endurance cycling shorts padding, you need firmer support under the sit bones, deliberate relief in the perineal zone, smooth edge transitions, and fabric that actually moves moisture away from skin.
Even the best pad won't replace periodic standing to restore circulation past the three-hour mark, but the right one buys you far more room before that becomes necessary.
Density over Thickness: The Logic Behind Multi-Density Chamois Pads
Density decides whether your pad holds up at kilometer 70. Thickness just decides how it feels at the start.
Foam density gets measured in kg/m³, and that number tells you how much the pad resists getting crushed under sustained weight. A 6–9 mm race-style pad runs thin and dense—built for speed, not for six-hour rides. A 9–12 mm multi-density chamois pad is the sweet spot for endurance work. Anything 12–14 mm sounds cushier on paper, but without enough density behind it, that extra padding turns to mush by hour three.
Industry foam falls into three bands: 40–50 kg/m³ for economy pads, 70–120 kg/m³ for mid-to-high-end construction, and 120–200 kg/m³ for premium, high-load zones. Brands like Elastic Interface push their Hybrid Cell System up to that 200 kg/m³ ceiling. Higher density means the foam resists compression—it doesn't flatten out the same way soft foam does after two hours of continuous pressure.An experienced custom Chamois Pad factory can tune density by zone.
That's why anatomical chamois design splits density by zone instead of using one uniform slab. Sit bone areas get the firmer, high-density foam because that's where load concentrates hour after hour. The perineal region gets softer material, because that's soft tissue that needs relief, not resistance.
The 100 km difference is real and measurable:
Single-layer thick pads feel plush for the first 20–40 km, then progressively flatten—support blurs, numbness creeps in, friction rises. Multi-density pads may feel less soft at the start but hold their structure through the back half, keeping sit bone support consistent and circulation steadier.
For anyone riding past two hours, density-first thinking beats thickness-first every time.
Chamois Pad Thickness Guide: Matching Thickness to Ride Duration
Grab any two chamois pads off a shelf and they'll feel identical in your hand. Put them under you for six hours and the difference becomes obvious fast. Thickness needs to match your clock, not your comfort preference at the store.
Standard thickness ranges by ride duration
Under 90 minutes : 6–8mm. Thin, breathable, minimal bulk for aggressive positions.
1–2 hours : 6–9mm. Training rides and commutes fall here.
2–4 hours : 9–12mm. Balances support and airflow for endurance rides.
4–6 hours : 10–14mm. Long cruising territory, where consistent pressure relief matters more than plushness.
6+ hours / all-day / bikepacking : 12–15mm. Full support for extended saddle time.
Race-cut pads often sit at 6mm, built for 4+ hour training blocks where speed matters more than cushion. Long-distance touring pads climb to 15mm, engineered for 8+ hour days in the saddle. Standard road-training pads run 8–12mm, while dedicated endurance builds push 12–15mm.
For 100 km rides, you want 10–15mm. Brands should confirm their Cycling Bib Shorts supplier's MOQ early.That's thick enough to prevent saddle sores, but only if the foam density holds up.
Anatomical Chamois Design: How to Match Your Sit Bone Width (Sit Bone Width)
Most riders never measure their sit bones. They grab whatever bib shorts look right and hope the chamois fits. That's a coin flip you don't need to take.
You can test this at home. Grab a piece of corrugated cardboard or dense foam. Set it on a hard chair with no cushions. Sit down wearing your cycling shorts, then rock your pelvis forward and back 10-15 times, like you're pedaling. Stand up. You'll see two indentations. Measure the distance between their centers in millimeters. That's your sit bone width.
Run this test two to three times to confirm the number. A bike shop with a proper measuring tool can double-check if you want certainty.
Matching pad width to your number
Your chamois pad's effective support width should run 10-15mm wider than your sit bone measurement. If your sit bones are 115mm, look for pads in the 125-130mm range. That extra margin keeps pressure sitting under bone structure, not spilling onto soft tissue beside it.
Typical ranges: men fall around 100-120mm, women run wider at 110-140mm. This difference is why anatomical chamois design splits by gender in the first place.
Why cut matters as much as width
Men's chamois tend to run longer and narrower, often with a center pressure-relief channel protecting the perineal zone. Women's chamois widen through the rear section, matching broader sit bone spacing and larger contact area.
Get the cut wrong, and 100 km turns into a lesson in friction and numbness—regardless of how good the foam density is underneath.Bulk Cycling Bib Shorts orders can use different pad profiles by market.
Key Structural Breakdown: How Zoned Design Boosts Comfort Over a 100km Ride
Two zones, two jobs, one pad. That's the whole idea behind anatomical chamois design—and it's what most riders miss when comparing shorts.
The sit bone area needs firm, high-density foam that won't flatten out mid-ride. You're putting body weight on it for hours. The perineal zone does the opposite: soft material with gradient transition that absorbs pressure rather than resisting it. That split is what makes a real multi-density pad different from a slab of foam with a fancy label.
Central Relief Channels: The Numbers Behind the Design
A central pressure-relief channel or perforated section shifts load away from the perineum toward the sit bones, where blood flow handles pressure better.
Research reviews show an 18–35% reduction in perineal pressure, with bigger gains in aggressive forward-leaning positions. Some Cycling Bib Shorts manufacturer data goes higher: 82% pressure reduction and measurable improvements in blood oxygen supply. On a 100 km ride—steady posture, long duration—that channel isn't about comfort at the start. It's about stopping numbness from building up over hours.
Seamless Construction: Why Stitching Location Matters
Seamless chamois technology is about stability, not softness. Fewer seams mean less friction, less bunching, and fewer micro-shifts over thousands of pedal strokes. Elastic Interface uses seamless central channels with ultra-soft padding. POC Novus builds wider, ventilated designs with layered gel and channel relief. Bellwether uses segmented zones specifically to cut numbness. Selle SMP's perforated designs improve perineal blood flow directly. Four brands, same conclusion: separate the zones, relieve the center, and keep the seams out of the way.
Breathability and Quick-Dry Fabric: How to Avoid Friction and Stuffiness
Wet fabric is where friction problems start. Sweat pools against skin, the “wet membrane” sticks around, and friction rises with heat—that combination is exactly what turns a long ride into a saddle sore situation. For cyclists trying to prevent saddle sores, getting airflow and moisture management right matters as much as foam density.
The Three-Layer Priority System
Fast-wicking fibers pull sweat off skin and push it toward the outer fabric layer, where it evaporates instead of sitting in the groin and inner thigh. That’s priority one, combined with low-seam cutting to limit extra friction points.
Priority two is antimicrobial treatment. Silver-ion finishes suppress bacterial buildup in damp fabric, cutting odor and infection risk. This matters most for commando riding, where you have no underlear beneath the chamois and moisture sits closer to skin. Pair it with chamois cream for long rides to lower the friction coefficient directly.
Priority three is perforated foam structures. Engineering tests show perforated panels hit a 0.68 kg/h drying rate versus 0.545 kg/h for flat foam, roughly 25% faster moisture clearance.
Post-Ride Habits That Actually Matter
Strip shorts immediately after riding. Don’t sit in sweat.
Clean and fully air-dry the contact area.
Wash and rotate shorts to stop bacteria accumulating in damp fabric.
100 KM Riding Scenario Recommendations

Two riders can finish the same century ride on different chamois setups. The right choice depends on terrain, pace, and how long you're actually in the saddle.
Flat Road, Steady Pace: The 12mm Baseline
For flat 100 km rides with consistent output and minimal stops, a medium-to-high density pad around 12mm thickness hits the mark. This is endurance territory. The formula stays simple. It has firm support under the sit bones, a relief zone in the center, and softer transitions at the thigh edges to cut down on pedal-stroke friction. This setup suits riders who prioritize steady-state comfort over raw speed, which describes most century-ride participants.
Rough Roads or Extended Cruising: Add Thickness
When the pavement turns rough or the ride stretches past the standard century pace, density should stay put. Thickness climbs instead, to the 13-15mm range. That extra material increases vibration filtering and contact area without letting the pad collapse under sustained weight. Going softer instead of thicker backfires here. Too much give causes sinking, and sinking causes friction. If your hands go numb or your hips feel every bump by kilometer 60, add cushioning layers and zone structure first, not just raw foam volume.
The Supporting Kit That Actually Matters
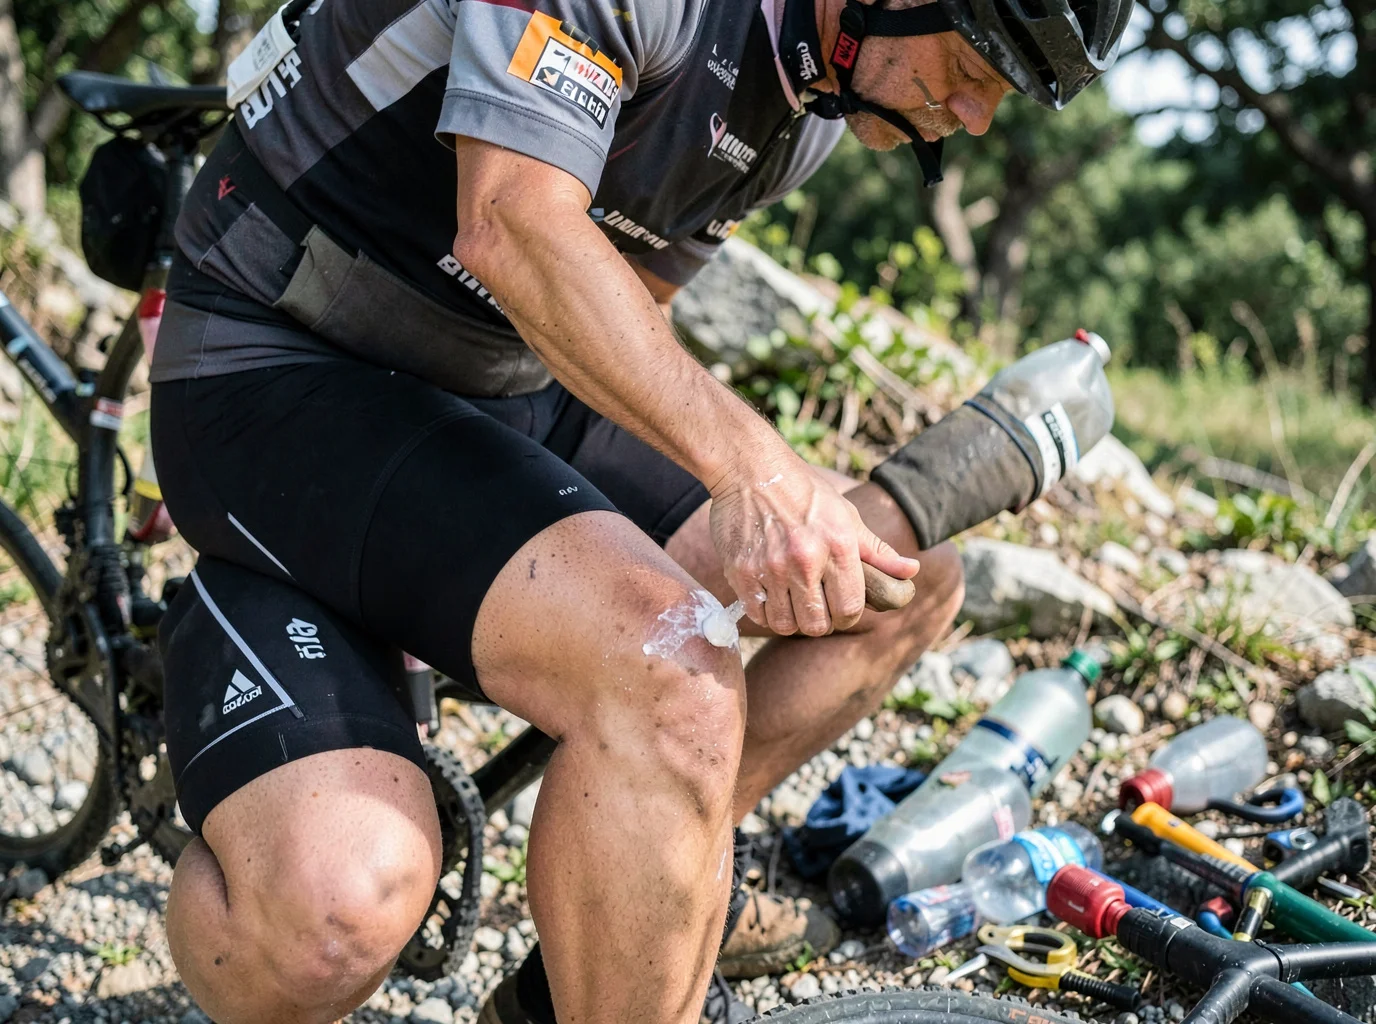
Chamois pad quality does the heavy lifting, but century rides run on a system. Pair your bib shorts with chamois cream for long rides to cut friction at the source. Bring two water bottles, tire repair tools, and a mini pump or CO2 canister, because dehydration and mechanical failures end rides just as fast as saddle discomfort does. This combination of padded shorts, cream, hydration, and self-sufficiency shows up across nearly every century-ride packing list because comfort and preparedness solve more problems than lightweight minimalism ever will at 100 km.
Try-On and Riding Position Test: How to Tell If Your Chamois Pad Really Fits
Foam density charts only tell half the story. The rest gets decided on a trainer, in your actual riding position, before you ever commit to 100 km.
The 3-Step Fit Test
Standing check : Put the shorts on, stand normally. The pad should sit flat with no bunching. Excess fabric in the crotch area signals a cut problem before you even move.
Riding position check : Get on your bike, hands on the bars, torso leaning forward like you actually ride. Make sure the chamois nose covers the saddle's front edge, both side wings clear the rear corners symmetrically, and nothing flares outward or curls up.
Trainer test : Ride 2–3 minutes on a stationary trainer, then cycle through 5 sit-to-stand transitions. A pad that stays centered without hand adjustment passes. One that slides, shifts, or bunches doesn't.
Chamois Problem vs. Saddle Problem
Frequent tugging at your shorts, pad migration, or bunching mid-ride points to a chamois fit issue—wrong size, wrong cut, wrong length. If you feel sharp, localized pain at the sit bones that stays the same across different shorts but changes when you adjust saddle tilt or width, the problem is saddle geometry, not the chamois.
Isolate the Variable
Test one thing at a time. Keep the same saddle, swap chamois pads, ride 60–90 minutes each and log friction, numbness, and hot spots. Then hold the chamois constant and shift saddle position 5–10mm fore-aft, tilt 2–3°. Whichever variable changes the pain is your real problem.
Purchase Checklist: 8 Must-Check Items to Quickly Screen Qualified Products
Eight questions separate a smart purchase from a guessing game.
The Core 8:
1. Use case — riding frequency, session length, terrain.
2. Fit — sit bone width matched to pad width. Measurement usually falls 100–160mm; add 20–25mm for road bikes, up to 30mm if you ride upright.
3. Structure — the spec sheet should state density, thickness and foam type, not just "premium" marketing.
4. Support zones — firm foam under the sit bones and a relief channel at the perineum.
5. No-wrinkle test — sit and press down. Bunching or sagging means uneven support.
6. Moisture control — wicking fabric with a fast-dry rating.
7. Maintenance — washable, sweat-resistant, holds up to weekly washing.
8. Total cost — warranty, replacement parts, how long it lasts.
Score each item 0–1. Six or higher moves a pad into serious consideration.
Conclusion
100 km is a different physical demand. It punishes the wrong chamois pad within the first 40 km. Get the density right, match the thickness to your ride time, and choose an anatomical design that respects your sit bone width, and you've solved 90% of long-distance discomfort before you even clip in. The rest comes down to breathable fabric and a proper fit test on the bike, not just in the mirror.
Don't guess your way through another century ride. Run through the 8-point checklist, try your top two candidates on a real 20-30 km test spin, and pay attention to how your body feels at kilometer 60, not kilometer 10. That's where cheap chamois pads fail and well–engineered ones prove their worth.Request a custom wholesale price for Cycling Bib Shorts based on pad specifications.