Three seasons ago, I assumed eight weeks was enough time to sort a custom cycling team kit order. It wasn't even close. The jerseys showed up four days before our first race. Before that: two rounds of artwork revisions, a sizing spreadsheet mess with seventeen riders on a shared Google Doc that no one could agree on, and a panicked email thread with the manufacturer I still avoid rereading.
That experience showed me something most people in cycling never say out loud: the real bottleneck in any team kit order isn't the sublimation printing or the custom cycling apparel production time — it's every chaotic, human-error-prone step that happens before the factory even touches your files.
So I built a fix. What you'll find below is the exact 16-week reverse timeline framework I've used to run group orders ever since. No guesswork — just hard lessons turned into a system that actually works.
The 16-Week Reverse Timeline Framework
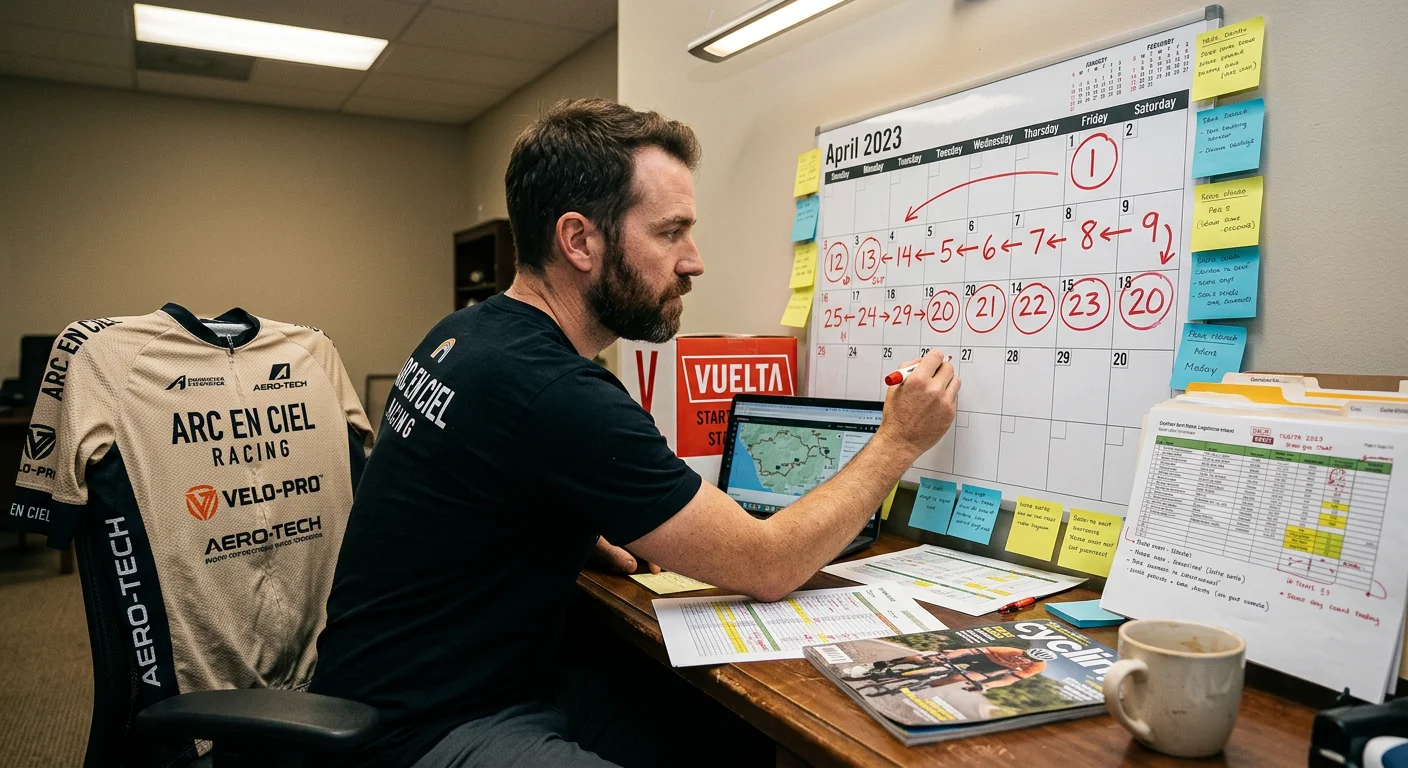
Here's the core principle: work backward from your race day. Don't start from whenever you feel ready.
Sixteen weeks sounds like a lot. It disappears faster than you think. Factor in supplier response delays, artwork revision cycles, and that one week where half your roster goes silent on the size survey — and the time vanishes.
The framework below is built around six hard anchor points. Every task, every reminder, every "hurry up" message you send a teammate maps to one of these fixed nodes. Miss a node, and the compression effect hits everything downstream.
Week 16 — Kickoff: Lock your cycling apparel supplier shortlist. Confirm minimum order quantity. Open your team size collection form. All three must happen at once. Nothing moves until they do.
Week 12 — Design Freeze: Final artwork submitted. All logo files in vector format, Pantone colors confirmed. This is a hard stop. No exceptions.
Week 10 — Size Deadline: Every rider's size locked in writing. No late additions. None.
Week 8 — Sample Approval: Review and sign off on the physical or digital proof. Any changes after this point cost you weeks — not days.
Week 6 — Full Payment: Production starts when payment clears. Not when it's sent. When it clears.
Week 2 — Buffer: Confirm shipping tracking. Validate the delivery window against your race calendar.
That two-week buffer at the end is not optional padding. It's the one thing standing between a late shipment and your riders crossing the start line in last season's kit.
Phase 1: Supplier Vetting & MOQ Contract Lock
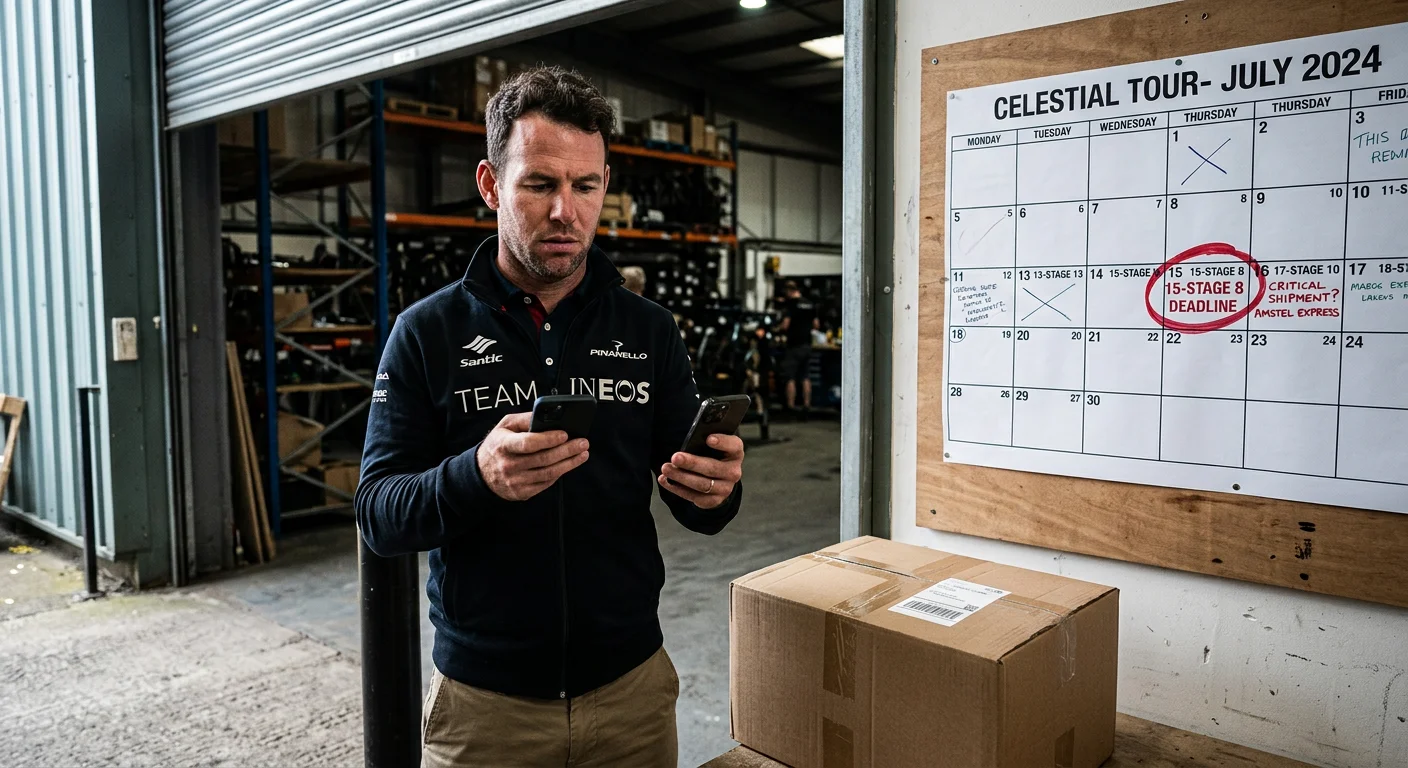
(Week 16 — your hardest deadline, and the one most teams blow past without realizing it)
Most club managers treat cycling apparel supplier selection like grocery shopping — browse a few options, pick the one with the nicest website, send an email. That's how you end up locked into a contract that doesn't match your roster size, your budget tier, or your actual delivery window.
Here's what Week 16 demands from you.
Know Your Supplier Tier Before You Send a Single Email
Not every cycling team kit manufacturer is built for your order size. Understand where your volume falls before you contact anyone:
Supplier Tier | Typical MOQ | Lead Time | Split Orders? |
|---|---|---|---|
Enterprise Brand | 10–50 units/style | 8–12 weeks | No |
Mid-Range OEM | 5–6 units/item | 6–8 weeks | Yes |
Custom Workshop | None–5 units | 4–6 weeks | Yes |
Say your roster sits at 22 riders and you want two kit styles. A mid-range OEM or custom workshop of cycling apparel makes far more practical sense than chasing a major cycling team kit manufacturer's brand name. The price break structure matters too. Most suppliers offer 5–8% off at 11–25 units, jumping to 10–15% at 26–50. Know your number before you negotiate.
The 8 Questions You Must Get Answered in Writing
Don't get off a supplier call without confirmed answers to all of these:
Exact MOQ per SKU — jersey separate from bib shorts, bib shorts separate from accessories
Price at your MOQ quantity , plus break pricing at 25 and 50 units
Split order policy — can your MOQ be distributed across two or three styles?
Standard production lead time in calendar days from order confirmation (not from deposit)
Rush fee structure — what percentage premium buys you an accelerated slot?
Design revision rounds included — industry standard is two to three; anything less is a red flag
Artwork file requirements — format, resolution, color profile (more on this in Phase 2)
Deposit percentage required to lock your production slot
That last one trips up more team managers than anything else. Payment "sent" and payment "cleared" are not the same date. Build that gap into your calendar. Write it down. Don't assume it's the same day.
Phase 1 Runs 3–4 Weeks. Don't Start It Late.
The full vetting cycle covers three stages: pre-qualification, capability evaluation, and contract negotiation. It takes 17 to 24 business days. That's after you factor in reference checks, sample review requests, and back-and-forth on contract terms. That's not padding. That's reality.
Run this checklist before you call Phase 1 closed:
MOQ confirmed per style, in writing
Per-unit price locked at your quantity tier
Split order policy documented
Production lead time confirmed in calendar days
Design revision rounds and overage costs agreed
Deposit percentage and payment schedule signed off
Refund and quality failure policy reviewed
Shipping terms, duties responsibility, and FOB point clarified
Every unchecked box at Week 16 becomes a crisis at Week 8. Lock it now.
Phase 2: Design Submission & Artwork File Prep
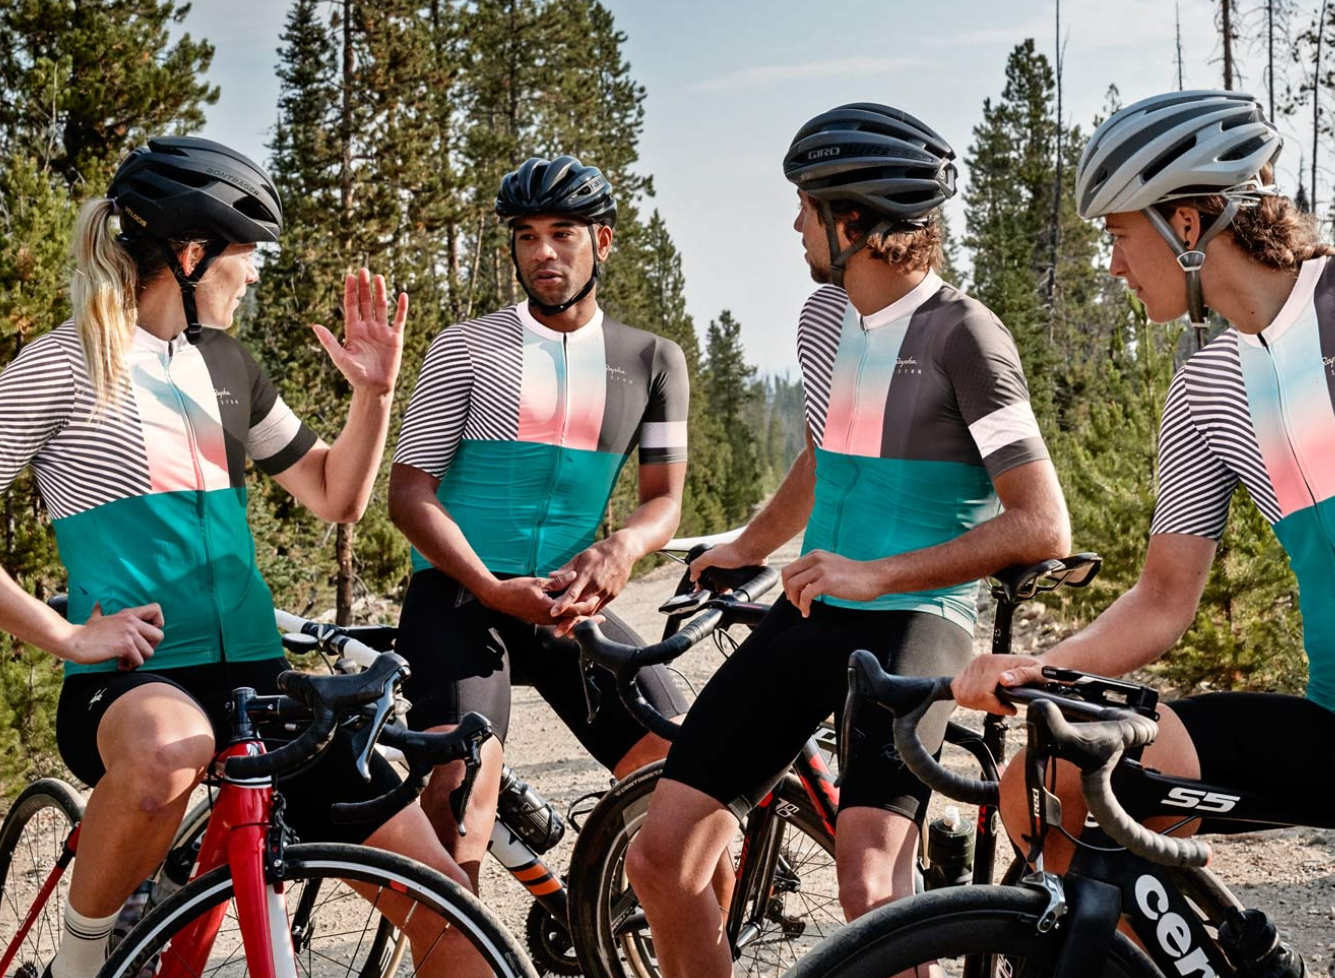
(Week 12 — the deadline that separates teams that race on time from teams that don't)
Most artwork rejections aren't about bad design. They're about bad files.
Your cycling team kit manufacturer's production team doesn't care how good your kit looks in that mockup PDF you spent three evenings building. What they care about is whether your files can hold up through the sublimation printing process at full scale — across a chest panel, around a sleeve, down a bib leg. Bad files mean you restart the clock.
Week 12 is your design freeze. Here's what that means in practice.
The File Specs That Matter
Sublimation printing destroys raster images. A logo that looks sharp at 300px wide on screen prints as a blurred smear across a jersey chest. Know these non-negotiables before you submit a single file:
Vector files are mandatory for all logos and text — AI or EPS format, with fonts outlined. No exceptions. Your club logo exists as a PNG someone screenshotted from your Facebook page? Fix that now. Not at Week 11.
Raster elements minimum 300 DPI at final print size — not screen size, not thumbnail size
Color profile: CMYK for all print-ready files. Polyester fabric shifts color during sublimation by 10–15% compared to screen previews. Working in RGB means that brilliant red turns into a completely different shade on the finished jersey.
Pantone codes required for every brand color — "our blue is kind of a navy" is not a specification. Lock the exact Pantone reference and confirm it in writing with your cycling apparel supplier.
Placement Rules You Can't Eyeball
Manufacturers need exact placement coordinates. Rough descriptions don't work. Industry standard for sublimation kits:
Zone | Placement Guideline |
|---|---|
Chest logo | Centered, 1–2cm clear zone from seam edges |
Back panel | Upper center, clear of collar seam and zipper pull |
Sleeve branding | Consistent left/right mirroring, 1cm minimum edge clearance |
Overlapping a seam line isn't a design choice. It's a production error. Your files get flagged and sent straight back to you.
Phase 2 Artwork Checklist
Run every file through this list before you submit anything:
All logos supplied as vector AI or EPS with fonts outlined
Raster elements confirmed at 300 DPI minimum at print size
Color profile converted to CMYK — no RGB files in the final submission
Pantone codes documented for every brand or team color
Sublimation color shift discussed with supplier and shift percentage confirmed
Placement coordinates specified for chest, back, and both sleeves
1–2cm clear zones maintained around all seam edges
Sponsor logos collected in vector format from each sponsor — go to them direct
All file names labeled by element and placement zone
Revision round count confirmed with supplier before submission
That last point carries more weight than it looks. Phase 1 locked the number of revision rounds in your contract. Burn through them and additional rounds cost you two things — fees and time. Every unplanned revision cycle at this stage eats five to seven business days. At Week 12, that's a compounding problem. It follows you all the way to the start line.
Submit clean files once. Get it right the first time.
Phase 3: Rider Sizing Data & Payment Coordination
(Week 10 for sizes. Week 6 for full payment. Both are non-negotiable.)
Seventeen riders. One shared Google Doc. Zero size lock deadline. That was my second season, and it broke the whole order. Someone kept editing after I'd submitted the form. Someone else never submitted at all. The manufacturer sent back a production list full of gaps and a short email: "Please confirm all sizes before we proceed."
We lost nine days. Nine days I didn't have.
Here's the fix.
Build the Spreadsheet Before You Ask Anyone for Anything
Your coordination sheet needs these columns, in this order:
Full Name | Email | Jersey Size | Bib Short Size | Waist/Inseam (cm) | Sock Size | Sleeve/Leg Warmers (Y/N) | Payment Status
Payment Status runs three values: Pending, Paid, or Late. No gray areas. No "I'll send it this weekend."
For teams under 20 riders, a Google Form feeding a locked spreadsheet works fine. Pair it with a Stripe payment link and track both in the same sheet. For rosters of 20 or more, run riders through a supplier-hosted pre-order portal — most mid-range OEMs offer this. Set it to auto-close after seven to ten days. It closes on time. No extensions.
The Message That Gets Responses
Send this. Word for word if you want:
"Please submit your measurements by [DATE]. Late entries default to standard chart sizing based on height. No exceptions after the deadline."
That last sentence matters. Clear consequences change behavior. A soft ask gets ignored.
Know Your Real Cost Before You Collect a Single Dollar
Before payment goes out, calculate your total landed cost:
Total = (Unit Price × Qty) + Setup Fee + Shipping + Import Duties
A real-world example: 50 jerseys at $45/unit = $2,250. Add a $1,000 production setup fee, $750 in shipping, and a 10% import duty — you're at $4,400 total . That's $88 per rider, not $45. Teams that skip this math collect the wrong amount. Then they scramble to cover the gap three days before the invoice hits.
Collect 100% of payment upfront , before production starts. Build in a three-to-five day buffer after your stated deadline for late payers. After that window closes, submit without them.
Phase 3 Checklist
Coordination spreadsheet built with all required columns
Google Form or supplier portal created and tested before distribution
Size submission deadline sent to all riders with clear late-entry consequences stated
Form locked or portal closed at deadline — no manual exceptions
Landed cost calculated: unit price, setup fee, shipping, duties all confirmed
Per-rider total shared with the team before payment collection opens
100% payment collected before production slot is confirmed
Late-payer buffer window defined (3–5 days max) and enforced
Payment status column updated in real time — no outstanding "Pending" entries at Week 6
One open row in that payment column at Week 6 holds up the entire order. Every rider on the roster waits because one person didn't pay. State that consequence clearly before you open the collection window. It works.
Phase 4: Final Proof Approval & Production Tracking
(Week 8 — the last moment you can catch a mistake without it costing you your deadline)
The proof lands in your inbox and the temptation is immediate: skim it, approve it, move on. Don't.
This is the one checkpoint left between your design files and a completed production run. Sign off, and the factory commits material, locks print panels, and starts cutting. Reversing anything after that point isn't a revision — it's a new order.
Review the Proof Like Someone Who's Been Burned Before
Open the digital proof next to your Phase 2 artwork submission. Check every element against your original files — not your memory of them.
Work through this in order:
Color accuracy — does the jersey chest match your confirmed Pantone references? Sublimation color shift runs 10–15% on polyester. Your supplier should have flagged any deviation in the proof notes. If they didn't, ask them straight out.
Logo placement — confirm chest, back panel, and sleeve branding against the placement coordinates you submitted. Eyeballing isn't enough. Pull up the spec sheet and check each one.
Seam clearance — any logo or text element sitting within 1cm of a seam line will distort on the finished garment. Flag it now.
Sponsor logos — verify each sponsor's mark against the vector files they provided. A wrong version gets noticed. The sponsor will catch it.
Size run confirmation — open the production size breakdown in the proof. Cross-check it against your locked spreadsheet from Phase 3. One transposed number creates a misfit pile at delivery.
Set a 48-Hour Approval Window — and Hold It
Take 24 hours to review with full attention. Take another 24 hours to send revision notes if needed. After 48 hours, approve or escalate. Approval cycles that stretch past 72 hours eat into your production buffer — not the factory's schedule. Your timeline absorbs the loss.
A physical sample before full approval? I'd recommend it for any first-time order with a new cycling apparel supplier. Confirm that request back in Phase 1 and add five to seven days to your Week 8 window. A physical sample costs time upfront. That cost is far less than reprinting 30 jerseys.
Track Production — Don't Wait for Updates
Your job isn't done once approved. Production tracking is part of this phase, not something to circle back to later.
At approval sign-off, ask your supplier for a production milestone schedule. A basic version covers three checkpoints: cut-and-print start date, assembly completion, and QC sign-off before shipping. Can't get that? Ask for email status updates every week. Get a name — a specific contact person, not a general inbox.
Flag any silence that runs longer than five business days. Production delays don't come with announcements. You find out by checking shipping tracking and seeing the estimated dispatch date has already moved.
Phase 4 Checklist
Digital proof reviewed against original Phase 2 artwork files — not from memory
Pantone color accuracy confirmed against supplier's stated sublimation shift percentage
All logo placements verified against submitted coordinate specs
1cm minimum seam clearance confirmed on all branded elements
Sponsor logos verified against original vector files
Production size breakdown cross-checked against locked Phase 3 spreadsheet
Proof approval or revision notes sent within 48 hours of receipt
Physical sample requested (first-time supplier orders of cycling team kit— non-negotiable)
Production milestone schedule received from supplier at approval sign-off
Weekly status update cadence established with a named contact
Shipping dispatch date confirmed and mapped against your Week 2 buffer window
One unchecked box here becomes a week's delay waiting for you three phases downstream. Approve clean. Track it. Protect your buffer.
The Master Pre-Submission Checklist & 8 Critical Supplier Questions
Two documents decide whether your order runs clean or falls into a revision spiral. First: what you hand over to the supplier. Second: what you demand from them in writing before anything moves.
Neither is hard. Both need to be exact.
Pre-Submission Checklist: What Leaves Your Desk Has to Be Right
Design Files
Map Pantone codes to every base and panel color — not close, not "good enough." Use PMS 186C for red panels. Verify through your Illustrator swatch library, not a screen preview
Supply sponsor logos as vector AI or EPS files. Keep a minimum one-inch clear zone from all seam edges. A sponsor sends you a PNG? Go back to them before you touch the submission portal
Verify high-visibility contrast for sublimation — WCAG 2.1 AA ratio of 4.5:1 minimum. Yellow PMS 116C on a black base passes. Guessing fails
Export the final proof as a 300 DPI, CMYK PDF with a 0.125-inch bleed margin. This is your archival copy. Keep it
Sizing & Admin
Lock and export the coordination spreadsheet. Include columns for SKU, size run XS through 3XL, quantity per size, and fabric GSM (target 140–160 for most performance kits)
Send the sizing guide with real measurement instructions — chest, waist, hip in centimeters. Not "I think I'm a medium." Standard reference: chest 96–100cm = S, dropping 4–6cm per size
Document the late submission fallback in writing. A 48-hour rush fee of $0.50 per unit with a hard cutoff seven days before production start is the industry norm. State it. Enforce it
Contract Terms
Attach written terms covering: production timeline (14–21 days post-approval is standard), AQL 2.5% defect threshold, 50% deposit refund if delay exceeds seven days. Also confirm the dispute resolution channel — use Alibaba Trade Assurance for China sourcing
The 8 Supplier Questions That Cannot Leave Your Phase 1 Call Unanswered
Ask these. Get written confirmation of every answer. No exceptions.
What's the exact MOQ per SKU? — Industry standard for custom cycling jerseys runs 50–100 units per SKU. Owayo sits at 50. Most Alibaba-listed Zhuhai factories will move at 30
Can I reorder single items without hitting bulk MOQ again? — Yes is the right answer. Expect to pay 1.5–2x the bulk unit price. Twin Six charges around $120 for a single unit versus $80 at volume
What's the guaranteed production turnaround plus shipping buffer? — Budget 10–14 days for production and 7–14 days for shipping. That totals 21–28 days. Add five more days for China sourcing
How many free design revisions are included, and what do overages cost? — Two to three free rounds is standard. Extra rounds run $50–100 each, plus $0.20–$0.50 per unit per day in overtime charges
Can I get physical size samples before full production commits? — Expect one to two samples per SKU at $30–60 each. Turnaround is five to seven days. Voler drops sample costs on orders above 200 units
What are your payment terms, and is the deposit refundable? — A 30–50% deposit is standard via PayPal or Alibaba Trade Assurance. You get a refund before the cut starts if there's a spec mismatch. After material is cut, the deposit stays with the supplier
Are duties covered, and is shipping DDU or DDP? — DDU is the default. You cover import duties — 5–12% of order value. On a $5,000 EU order, that's around $600. DDP is available from select suppliers for an extra 10–15% fee
What's your defect and reprint policy? — A solid cycling apparel supplier covers 100% reprint for defect rates above 5% (AQL 4.0), with a 30-day claim window. Primal Wear, for reference, issues full credit for sizing off by more than 2cm
Every unanswered question on this list is a gap in your contract. Gaps turn into arguments. Arguments turn into delays. Get every answer at Week 16, in writing, before a single design file moves anywhere.
Contingency Buffer & Final Delivery Inspection Protocol
Shipments lie. Not on purpose — but tracking pages, estimated delivery windows, and supplier confirmation emails all share one quiet flaw: they show you the best-case version of reality. Plan your calendar around them and you're one customs hold away from handing your riders last season's kit at the start line.
The two-week buffer at the end of your timeline isn't a bonus. It's structural.
Here's how to use it.
The Buffer Is a Working Window, Not a Rest Stop
Most teams treat the final two weeks as passive waiting. That's wrong. The moment shipping confirmation arrives, the buffer activates — and it has a job to do.
Days 1–3: Confirm tracking is live and moving. It stalls at origin for more than 72 hours? Call your supplier. Not through a ticket system. Find a named person.
Days 4–7: Check your expected arrival date against customs clearance rules for your country. DDU orders — the default for most China-sourced kits — mean duties land on you at the border. Have payment ready. A two-day customs hold catches unprepared importers off guard. That delay is avoidable.
Days 8–10: The shipment hasn't cleared yet? Escalate now. This is where the buffer starts doing real work.
Delivery Inspection: Open Every Box Before You Sign Anything
The cartons arrive. You'll want to stack them in the corner, feel relieved, and deal with it later. Don't.
Run a physical inspection the same day delivery lands. Go through every item against your locked Phase 3 spreadsheet:
Count total units — jerseys, bib shorts, socks, accessories — against the packing list
Open every box. Not a sample. Every box.
Check each jersey: correct size label, correct rider name or size grouping, no print defects, no seam separation, zipper runs clean end to end
Check Pantone color accuracy against your Phase 2 proof — sublimation shift on the finished garment needs to fall within the deviation percentage your supplier confirmed in writing
Inspect sponsor logo placement against your coordinate specs. One misaligned logo gets noticed. By the sponsor.
Spot any unit with a visible defect — photograph it, log the SKU and size, and pull it from the accepted pile right away
Defect threshold: A solid supplier contract covers 100% reprint for defect rates above 5%. Your AQL 2.5% clause is in the contract? Anything above that threshold triggers a claim. Document everything within 30 days of delivery. After that window closes, most suppliers won't act.
Any Category A defect — wrong size run, widespread color inaccuracy, structural failures — goes straight to your supplier contact the same day, with photos attached. Don't wait. Don't soften the message. Your claim window starts at delivery, not at the moment you decide to speak up.
The One Number That Prevents All of This
Build a 10–15% cost buffer into your Phase 3 collection math. It covers the gap when a defect claim leads to a partial reprint, express re-shipping, or an unexpected duty charge at the border. This isn't a rounding error. It's a safety net for the moments when the timeline runs perfectly and logistics still drops a surprise cost you never saw coming.
Collect it upfront. Don't touch it until delivery inspection is closed.
Conclusion
Every late kit delivery I've ever seen comes down to the same root cause: someone thought there was more time than there was.
The 16-week framework in this guide exists to fix that. Lock your reliable cycling team kit supplier, freeze your artwork files, and close your sizing window at the right weeks — not the easy ones. Do that, and you stop reacting to the process. You start owning it. That's the difference between a team that rolls up to race day looking sharp and unified, and one still chasing down a DHL tracking number.
Your next move is simple: open a blank calendar, pin your target delivery date, and count backward. Block every hard deadline from this guide first. Don't wait until your riders start asking questions.
Custom cycling apparel production waits for no one. But teams that plan? They show up ready.