One bad batch of cycling kits can wreck a season's worth of work. Returned orders, angry customers, a Cycling Apparel supplier dispute that drags on for weeks — it adds up fast. Most of the time, it wasn't bad luck. It was the absence of a clear standard before the shipment left the factory floor.
AQL inspection for cycling apparel gives you that standard. It's a data-backed, industry-recognized framework. You'll know how many pieces to check, what defects to look for, and when to reject a shipment outright.
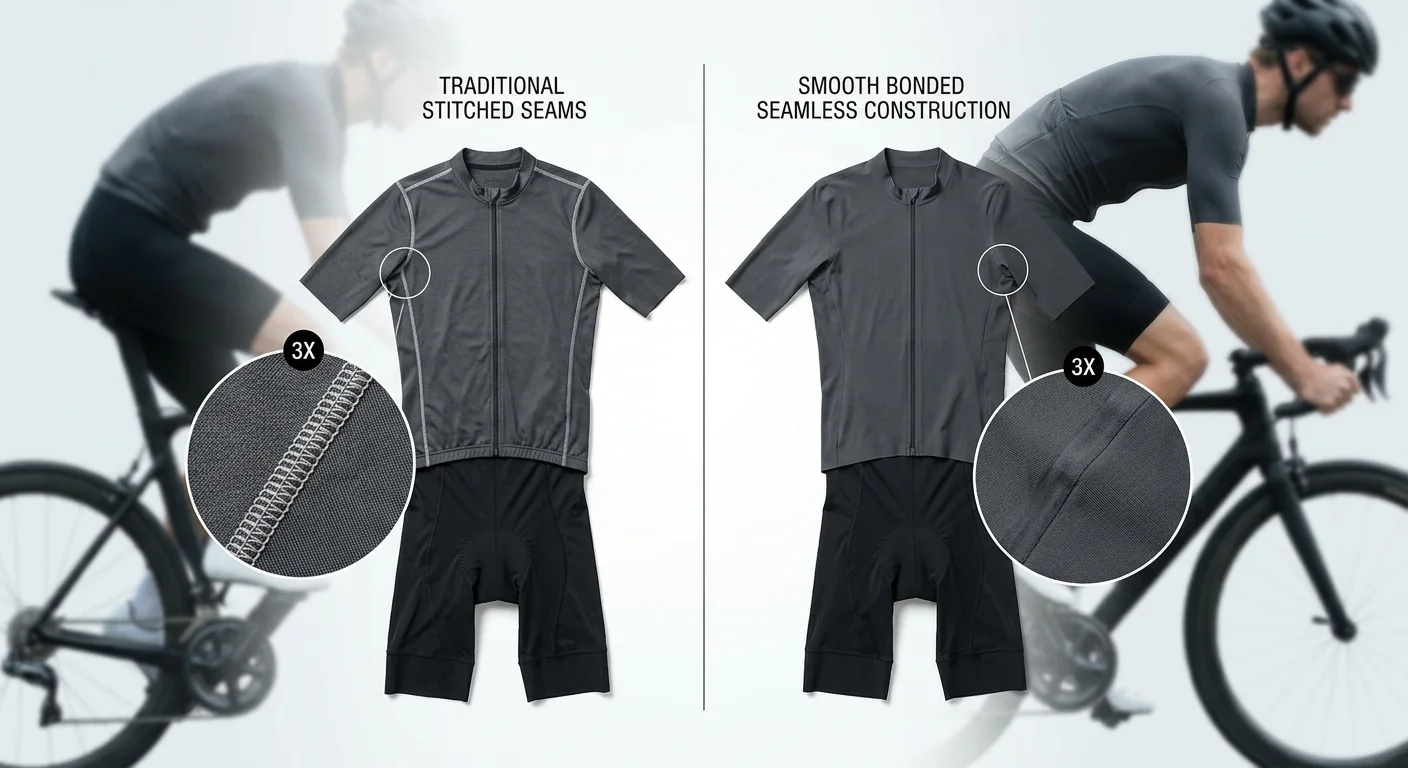
This guide covers it all for cycling gear specifically — Lycra fabrics, chamois pads, sublimation prints, flatlock seams, and more. Use it before your next pre-shipment check. Use it in your next cycling wear supplier conversation. Either way, you'll have a clear picture of what acceptable quality looks like.
The Three Defect Levels in Cycling Apparel — With Real Examples

Not all defects are equal. A barely-visible thread tail on the inside pocket is a very different problem from a chamois pad peeling off mid-ride. Treating them the same way — rejecting everything or accepting everything — is how quality control falls apart.
The AQL framework fixes this by splitting defects into three levels: Critical , Major , and Minor . Each level has its own tolerance threshold, its own AQL value, and its own consequences. Here's how each one plays out in cycling apparel.
Critical Defects — Zero Tolerance, No Exceptions
Critical defects share one trait: they make the product unsafe or unusable. For cycling gear, the AQL value is 0.0% . One piece with a critical defect fails the entire batch.
That's not harsh — it's rational risk management. Here's what "unsafe" looks like in a cycling kit:
Exposed zipper teeth on the main front zip — metal teeth press against bare skin during a 4-hour ride. That's a real laceration risk and real liability exposure.
Chamois pad severe delamination — the pad lifts or separates from the shell. Once it goes at the saddle, the rider loses all cushioning at the worst possible moment.
Main zipper total failure — won't close, or slides open under movement. The jersey stops working as a garment. In cold or wet conditions, that's a safety issue, not just an inconvenience.
Systematic mislabeling (size L shipped as M across the batch) — this creates downstream chaos: logistics errors, mass returns, and customer trust damage. Most sourcing contracts treat widespread mislabeling as Critical, or set a threshold (e.g., >1% of batch = automatic Critical escalation).
Major Defects — Functional and Commercial Red Flags
Major defects won't hurt anyone physically, but they will hurt your business. The industry-standard AQL for this level is 2.5% , based on the Acceptance/Rejection numbers in ISO 2859-1 tables.
These are the defects that generate one-star reviews, push return rates up, and chip away at your brand's reputation season after season. For cycling apparel:
Defect | Why It's Major |
|---|---|
Chamois pad off-center beyond design tolerance | Creates one-sided pressure within 1–2 hours of riding; high return rate driver |
Skipped or broken stitching ≥10mm at crotch or shoulder seams | High-stress zones — seams keep splitting under movement; garment strength is compromised |
Lycra fabric snag or hole ≥5mm on sleeves or thigh panels | Compression and aerodynamic performance drops; hole grows with wear |
Sublimation print misalignment >5mm on logo or sponsor placement | Team kits get rejected; sponsors push back; major visual and commercial damage |
Key measurements out of spec by >±2cm (chest, waist, leg opening) | Fit and compression fail together; size runs become unreliable |
Rear pocket width too narrow for a phone or gel | Turns a functional cycling jersey into a useless one — riders notice fast |
Sleeve or leg length asymmetry >1.5–2cm | Visible during wear, causes uneven pull; consumers read this as a serious manufacturing fault |
Minor Defects — Cosmetic, Acceptable Within Limits
Minor defects are the small stuff. You can spot them on close inspection, and they're not perfect — but they don't affect how the garment performs or fits. AQL for this level is 4.0% .
Think of these as things a careful buyer might notice but won't return the product over:
Light seam puckering at shoulder or side seams (wrinkle width <5mm) — no effect on stretch or fit
Color variation within tolerance (ΔE ≤1.0–1.5 — detectable only in a side-by-side comparison)
Floating thread <10mm in a non-structural, low-stress location — trimmable, no strength impact
Interior label off-center (<5–8mm from centerline) — invisible during wear
Reflective strip position deviation <5mm — still within the visible safety zone on back or side panels
Silicone gripper strip minor height variation or slight overflow at seam junction — tactile difference only; grip function stays intact
Minor defects don't disappear from your inspection records. They get tracked, counted, and measured against the 4.0% threshold. The goal isn't to ignore them — it's to make deliberate, proportional decisions about them.
Why the Three-Level System Matters for Cycling Apparel
Generic garment inspection checklists lump everything together. Cycling apparel can't work that way. The materials are technical — Lycra/spandex blends , heat-sublimated graphics, flatlock and flatseam construction , bonded chamois pads with multi-density foam layers. The end-use conditions are hard on gear. A "minor fit issue" in a dress shirt is a functional failure in a bib short worn for six hours on a saddle.
Build your pre-shipment instructions around this three-tier defect classification. You get a shared language with your cycling apparel factory. Ambiguity drops. You create a paper trail. So the next conversation about a borderline defect starts from shared definitions — not a dispute over whose interpretation is right.
How AQL Sampling Plans Work: From Lot Size to Accept/Reject Numbers
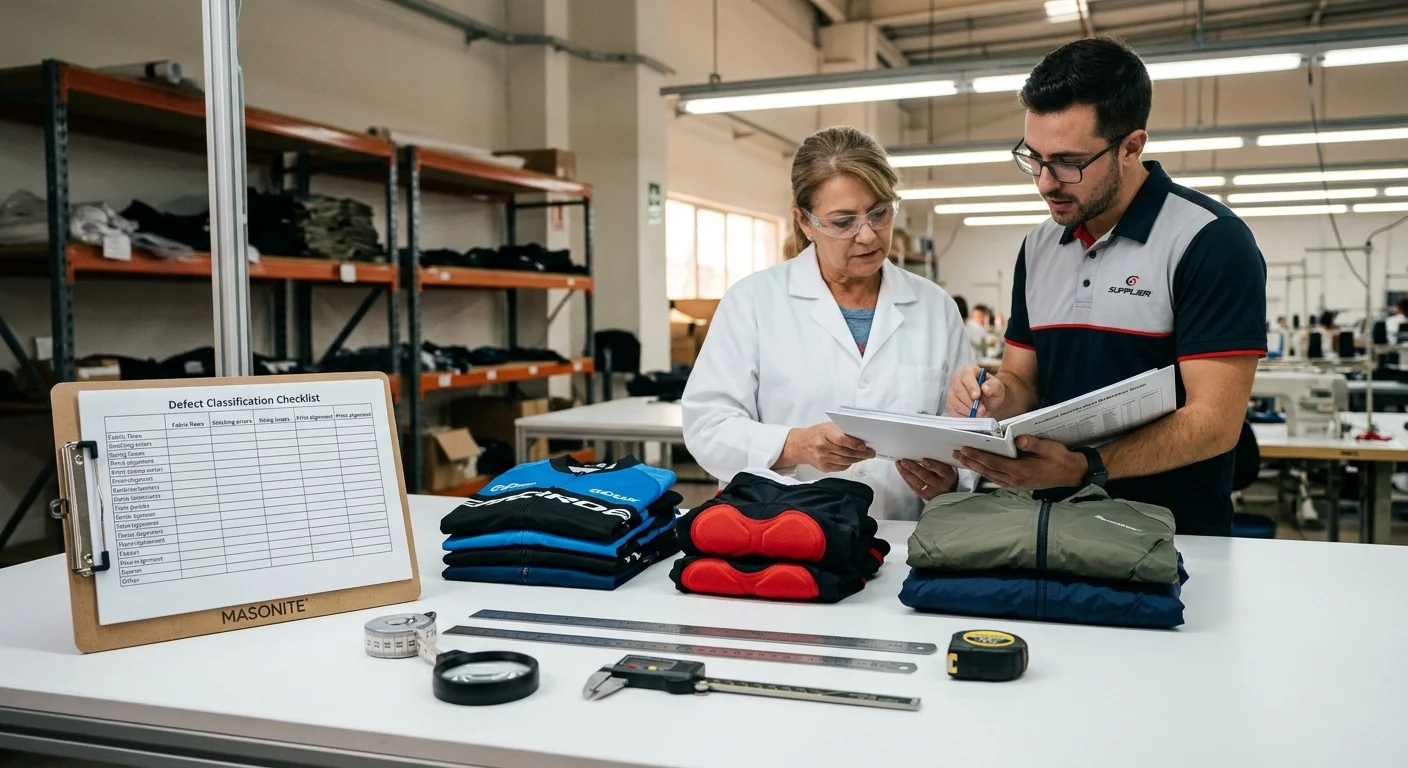
The defect classification system only works if you know how many pieces to check. That's where the sampling plan comes in — and it's more mechanical than it sounds.
AQL sampling follows ISO 2859-1 (also published as ANSI Z1.4). The standard gives you two lookup tables. You use them in sequence. The output is a sample size and two numbers — an accept number and a reject number — for each defect category. Here's how that process works.
The Four-Step Lookup Process
Step 1: Determine your lot size. Count the total pieces in the shipment. A batch of 2,000 cycling jerseys is your starting point.
Step 2: Select your inspection level.
For standard pre-shipment inspection of garments, use General Inspection Level II . It's the industry default.
Step 3: Find your code letter in Table 1.
Cross-reference your lot size range with General Level II. For a 1,201–3,200 piece batch, the table returns Code Letter L .
Step 4: Pull your sample size and Ac/Re numbers from Table 2.
Code Letter L maps to a sample size of 200 pieces . On that same row, read across to each AQL column to get the accept (Ac) and reject (Re) numbers.
The 2,000-Piece Cycling Kit: A Worked Example
Here's what those four steps look like with real numbers, using standard AQL settings for cycling apparel:
Defect Level | AQL Setting | Sample Size | Accept (Ac) | Reject (Re) |
|---|---|---|---|---|
Critical | 0.65 (or Ac=0) | 200 | 1 (or 0) | 2 (or 1) |
Major | 2.5 | 200 | 10 | 11 |
Minor | 4.0 | 200 | 14 | 15 |
Look at those Ac/Re numbers closely. For Major defects at AQL 2.5 : your inspector finds 10 Major-defect pieces in the 200-piece sample — the batch passes. They find 11 — the entire shipment of 2,000 pieces is rejected. That single-piece margin is not accidental. It keeps the decision clean and non-negotiable.
For Critical defects, many brands skip the 0.65 setting and hardcode Ac=0, Re=1 . One chamois pad delamination in the sample. One exposed zipper tooth. The whole batch goes back.
Counting Defects on the Same Piece
One jersey can carry more than one defect. How you count matters. Agree on the method before inspection starts — not after.
The most common approach in garment inspection:
Count defects by point , not by piece. A jersey with one Major (broken seam at crotch) and two Minors (floating threads) adds 1 to the Major count and 2 to the Minor count.
Each count is compared independently against its own Ac/Re threshold.
Any single category that breaches its Re number fails the batch — no matter how clean the other categories are.
Some buyers simplify this by counting defective pieces instead of defect points. A jersey with three Minor issues counts as one Minor-defective piece. This approach is less strict. Use it only if you write it into your inspection agreement in clear terms. Leave it undefined and disputes follow.
Tightening the Standards for Performance and Race-Level Kits
The numbers above are the industry baseline for general sportswear. Sourcing race-fit kits, aero jerseys, or chamois-critical bib shorts ? Dimensional accuracy and fabric performance leave no room for error. Tighten your AQL settings before the inspection order goes out.
A practical adjustment for high-performance cycling apparel (same lot size, same n=200):
Defect Level | Standard AQL | Tightened AQL | Tightened Ac/Re (n=200) |
|---|---|---|---|
Critical | 0.65 | 0.10 (Ac=0) | Ac0 / Re1 |
Major | 2.5 | 1.5–2.0 | Ac5–8 / Re6–9 |
Minor | 4.0 | 2.5–3.5 | Ac9–12 / Re10–13 |
Dropping Major from 2.5 to 1.5 cuts your accept threshold from 10 pieces down to 5–6. Same sample size, same inspection effort — but the bar for passing is much higher. That pressure lands on the cycling apparel factory's process controls.
Put these numbers in your purchase contract or pre-shipment inspection brief. A factory agrees to AQL 2.5 for Major defects, then gets an inspector carrying AQL 1.5 instructions — they will push back. And they'll have a point. Lock it in writing, before inspection day.
Pre-Shipment Inspection Checklist for Cycling Apparel
A structured checklist is what separates a disputed shipment from a closed purchase order. Once your AQL sampling plan is set and your defect thresholds are defined, this is the real work — going through each garment one by one, recording what you find, and making clear, defensible decisions.
The checklist below covers six inspection areas. Work through them in order on every pre-shipment inspection (PSI). Do this when ≥80% of the order is packed and ready.
1. Carton and Documentation Verification
Start outside the product. Pull 5–10 cartons at random and verify:
PO alignment : Cross-check each carton against the packing list — style, colorway, size ratio, and total quantity. Acceptable tolerance is ±3% per size and ±1% on overall quantity.
Barcode scan rate : Every SKU in every size must scan at 100%. A single unreadable or mismatched barcode is a Major defect — not a paperwork issue.
Outer carton markings : Buyer name, PO number, style code, size range, carton sequence (e.g., 12/50), and country of origin must all match the packing list. No exceptions. A missing carton or a box with wrong contents triggers a full recount.
2. Fabric and Material Inspection
Pull pieces from across the size run and check:
Fabric weight : Cut a 10cm × 10cm swatch, weigh it, and convert to g/m². Road jersey main fabric runs 120–170 g/m². Bib short Lycra panels run 180–250 g/m². Any deviation beyond ±5% of spec is a Major defect .
Surface defects : Check high-friction zones first — inner thigh, chamois perimeter, underarm, lower back. Pilling or heavy snagging in these areas = Major . Visible staining on the front panel = Critical .
Colorfastness : Rub a white cloth across each panel 10–20 times. Heavy dye transfer is a Major colorfastness failure. Also compare pieces from different size runs under D65 or natural light. Visible color gaps between cuts = Major .
3. Seam and Construction Integrity
Cycling apparel puts much harder demands on seams than standard garments. Generic garment inspection misses this. The mechanical stress is real.
High-stress zones : Inspect crotch seams, shoulder joins, side panel connections, and chamois-to-shell attachments. Stitch density must stay consistent at 3–4mm per stitch. Any seam opening ≥10mm in these areas is a Major defect — flag it straight away.
Elastic and silicone gripper bands : Check hem, cuff, and leg opening elastic for flat adhesion. Look for lifting, bubbling, or delamination. Stretch the band to 10–15% elongation and watch the seam line. Any delamination >5mm = Major .
4. Cycling-Specific Components
These are the parts that set cycling apparel apart from standard sportswear. Generic inspection checklists miss these entirely.
Chamois pad : Fold the bib short along the center seam. The pad's shape, foam density zones, and perforation pattern must mirror left-to-right. Any offset >5mm from centerline = Major . Pull the pad edge away from the shell with light, steady pressure. Any separation >5mm or visible delamination = Major . Surface bubbling at more than one spot also qualifies.
Front zipper : Run it through three full open/close cycles. It should move without resistance and stay locked. A zipper that slides more than 10mm after locking — or shows missing teeth at any point — is a Critical defect .
Reflective strips : Measure placement against the Tech Pack with a ruler. Standard tolerance is ±5mm. Go beyond that = Major . Flex the fabric and check strip adhesion. Any edge lifting or cracking >3mm = Major . A sharp, skin-contact burr on the strip edge = Critical .
Sublimation print : Measure logo and graphic placement from fixed reference points — zipper center, side seam, hem. Tolerance is ±5mm. Go beyond that and it's a Major alignment defect. Check primary logos for soft edges, banding, or ghosting. Compare same-colorway pieces across sizes for print color consistency. A visible batch-to-batch color shift means you need to pull a larger sample.
Rear pockets : Measure each pocket opening. A standard three-pocket jersey runs 8–12cm wide per section and 12–15cm tall, with ±5% tolerance on both. Apply 5kgf of hand tension to the pocket's upper and side seams. Any seam opening >5mm = Major .
5. Measurements and Fit Spec
Take measurements on at least 3–5 pieces per size, per colorway. Key points:
Garment | Measurement Points |
|---|---|
Jersey | Chest (2.5cm below armhole), waist, back length (nape to hem), sleeve length (shoulder point to cuff) |
Bib Short | Waist (relaxed flat), inseam (crotch to leg hem), outseam (waist to leg hem) |
Standard tolerance for performance sportswear is ±1.0–1.5cm on critical dimensions. Any single measurement outside tolerance = Major . The same measurement failing across multiple pieces of the same size is a pattern problem — not a one-off. Escalate right away and expand your sample before you make any pass/fail call.
6. Labels and Compliance
Size labels : Confirm the marked size matches the measured dimensions. A size M label on a size L garment is a Major defect . If it shows up across the batch, it becomes a Critical escalation.
Fiber content and care labels : Check the composition against your Tech Pack (e.g., 80% Polyester / 20% Elastane). A variance >±3% creates compliance risk in regulated markets. Care symbols must be clear and right for the destination market. EU-bound shipments need either local language text or ISO 3758 symbols throughout.
Keep your inspection records for every shipment — including passed batches. Over time, the data builds a cycling apparel manufacturer performance baseline. The next time a factory claims a defect rate is unusual, you'll have the numbers to confirm it or push back.
How to Set and Communicate AQL Standards with Factories and Inspectors
The inspection framework holds only if everyone is working from the same document. A factory that reads "Major defect" differently than your inspector isn't being difficult — they're filling a gap you left open.
Close that gap before inspection day. Here's how.
Lock the Language in Your Contract
AQL isn't a guideline you pull out after a dispute. It's a contractual acceptance criterion. Set it in writing before production starts. Paste this language into your purchase order or supplier agreement:
"Acceptance sampling shall be performed according to ISO 2859-1:2025, single sampling plan, normal inspection, General Inspection Level II. Critical defects: AQL 0.0 (not permitted). Major defects: AQL 2.5. Minor defects: AQL 4.0. Defective units shall be counted by defective unit. Failed lots shall be held at factory; sorting and re-inspection at cycling apparel supplier cost. Sampling plan and AQLs must not be changed during inspection without written buyer authorization."
That last clause matters. Some inspectors show up and quietly adjust the sample size. Others get talked into skipping a defect category by a factory rep. Either way, the result is invalid. Put it in the contract. Non-negotiable.
Send a Structured Inspection Brief
Send an inspection task order to both the factory and your inspector or third-party agency. It should include:
PO details : style name, lot size, factory address, inspection date
Sampling standard : ISO 2859-1:2025, General Level II, single plan, normal inspection
AQL settings : Critical 0.0 / Major 2.5 / Minor 4.0, counted by defective unit
Attached documents : your Cycling Apparel Defect Classification Guide (versioned and dated) + Tech Pack measurement tolerance page
Failure clause : defects reach Re for any defect class, the lot fails — rework at factory cost, re-inspection before release
Build a Cycling Apparel Defect Classification Guide
A generic defect list creates arguments. A category-specific guide with photos ends them.
Each defect entry in your guide needs four columns: defect name, photo + description, defect class (Critical / Major / Minor), and zero-tolerance flag. For cycling apparel, build it around the technical failure points that matter most:
Defect | Class |
|---|---|
Fabric tear ≥10mm on any panel | Critical |
Reflective strip missing or >10% short of spec | Critical |
Chamois delamination ≥5cm² | Major |
Color shading between panels ΔE >2.0 | Major |
Open seam ≥20mm at shoulder or crotch | Major |
Print misalignment >4mm vs. reference artwork | Major |
Loose thread ≥10mm visible on exterior | Minor |
Before the first inspection with a new factory, run a calibration exercise. Pull 10–20 defect photos. Have the factory, your inspector, and your QC team each classify them on their own. Where answers diverge — that's where disputes will hit later. Align on those edge cases now. Lock the definitions into a versioned document and share it with everyone involved.
Bring In a Third Party for New Factories
For a new cycling apparel factory relationship, bring in an independent agency — SGS, Bureau Veritas, QIMA — for at least the first three batches. Budget USD 200–350 per inspector per day, plus travel. For high-complexity cycling orders with multi-layer construction or full-body reflective panels, that cost is cheap insurance.
Book the inspection no later than 48 hours before the scheduled shipment. Confirm with the factory that production is 100% complete and at least 80% of units are packed before the inspector arrives. A lot inspected mid-production isn't a real lot — it's a partial sample with selection bias baked in.
A failed batch follows this process: factory sorts and reworks at their cost → re-inspection under the same or tightened plan → written buyer sign-off before release. Two consecutive failed batches should trigger automatic escalation in your supplier scorecard. Track it. Over time, the data shows you which cycling apparel factories are worth keeping.
AQL Settings Quick-Reference for Cycling Apparel Buyers
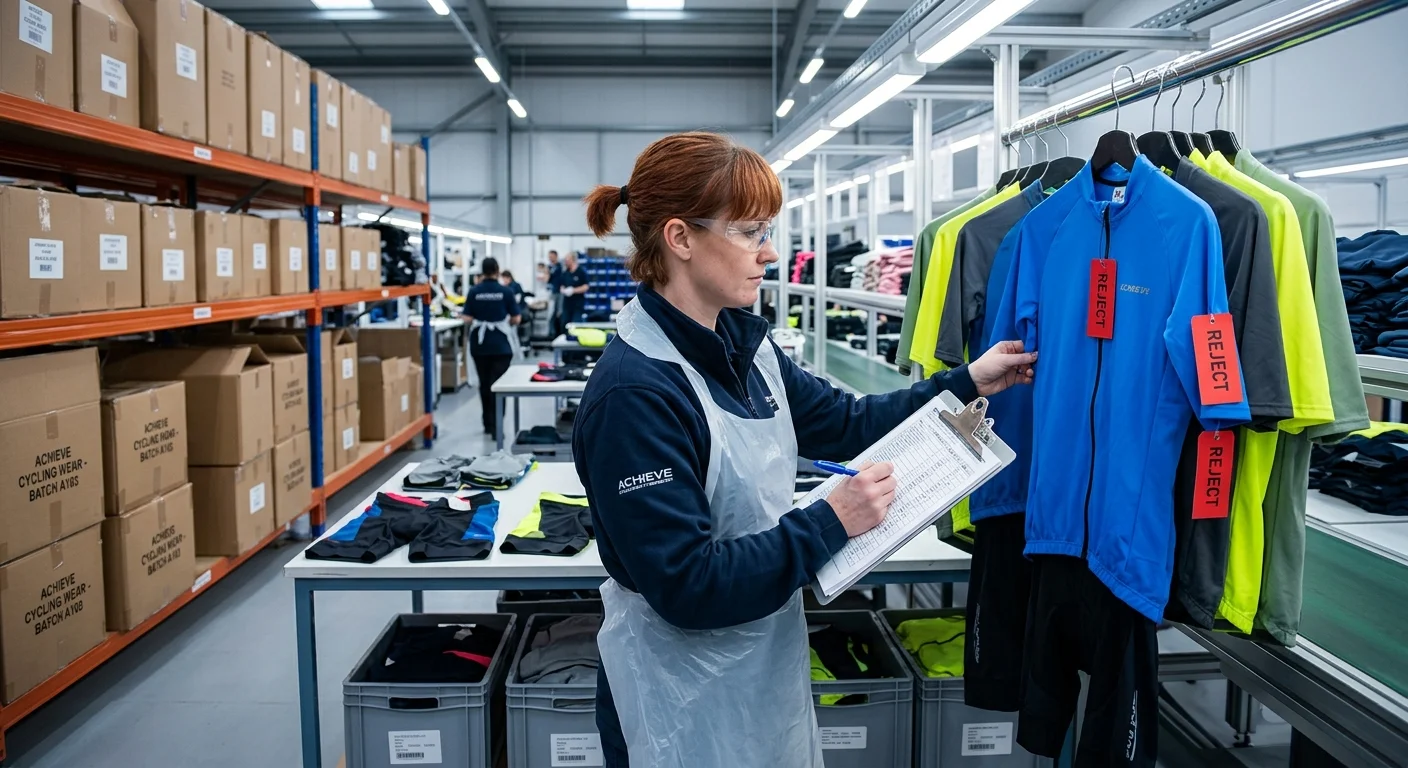
The right AQL setting depends on what you're buying — and what it costs to get it wrong.
A promotional club kit and a UCI race jersey don't share the same quality expectations. Applying the same AQL to both creates a problem. It's either too loose for one, or too costly for the other. Here's a tier-based reference you can pull out before every order.
AQL by Product Tier
Product Tier | Typical Use Case | Critical | Major | Minor |
|---|---|---|---|---|
Entry / Promo | Team orders, price-sensitive bulk | 0.0 | 2.5 | 4.0 |
Mid-to-Premium | Brand retail, club kits, flagship e-commerce | 0.0 | 1.5–2.5 | 2.5–4.0 |
Race / Pro-Level | UCI kits, competition-specific builds | 0.0 | 1.0–1.5 | 2.5 |
Critical stays at zero across every tier. No negotiation there.
Common Order Size Quick-Reference (Level II, Major AQL 2.5)
Order Qty | Sample Size | Major Ac/Re | Minor Ac/Re (AQL 4.0) |
|---|---|---|---|
500 pcs | 50–80 | Ac3–5 / Re4–6 | Ac7–10 / Re8–11 |
1,000 pcs | 80 | Ac5 / Re6 | Ac7–10 / Re8–11 |
2,000 pcs | 125 | Ac7 / Re8 | Ac10+ / Re11+ |
5,000 pcs | 200 | Ac10–14 / Re11–15 | Higher Ac applies |
Every PO needs three things locked in: inspection level (General II), your AQL values, and the exact Ac/Re numbers for your order quantity. Those three details are what make the inspection enforceable.
Three Mistakes Worth Avoiding
"AQL pass means zero defects." It doesn't. A 1,000-piece lot can pass at Major AQL 2.5 and still contain defective units. All it confirms is that the defect rate sits below the agreed threshold. That's not the same as zero defects.
Using one AQL tier for every order. Race-level kits need Major AQL 1.0–1.5. Applying 2.5 to a $180 aero jersey means you're accepting more defect risk than the product warrants.
Squeezing Minor AQL too tight. Drop Minor below 2.5 for standard kits and rework costs go up — with little real quality gain to show for it. Minor AQL exists as a middle ground. Use it that way.
Conclusion
Quality failures in cycling apparel don't announce themselves. They show up after the container clears customs. After the invoice is paid. After your customer's chamois pad detaches mid-ride.
That's what AQL inspection is built to prevent.
You now have the framework. It includes a clear defect classification system built around cycling-specific materials and construction. You also get a sampling plan that fits real order quantities, plus a pre-shipment checklist that speaks the same language as your factory floor. On top of that, you have the acceptable quality limit apparel standards to back every conversation with your supplier — no guesswork, no vague "good quality" requests.
Here's your next move: send your factory this checklist before your next production run ships. Define your AQL levels in writing. Make it part of your purchase order terms.
The buyers who catch defects before shipment aren't lucky. They're just more systematic than everyone else.